GET STARTED
STEP 1: Open The Box
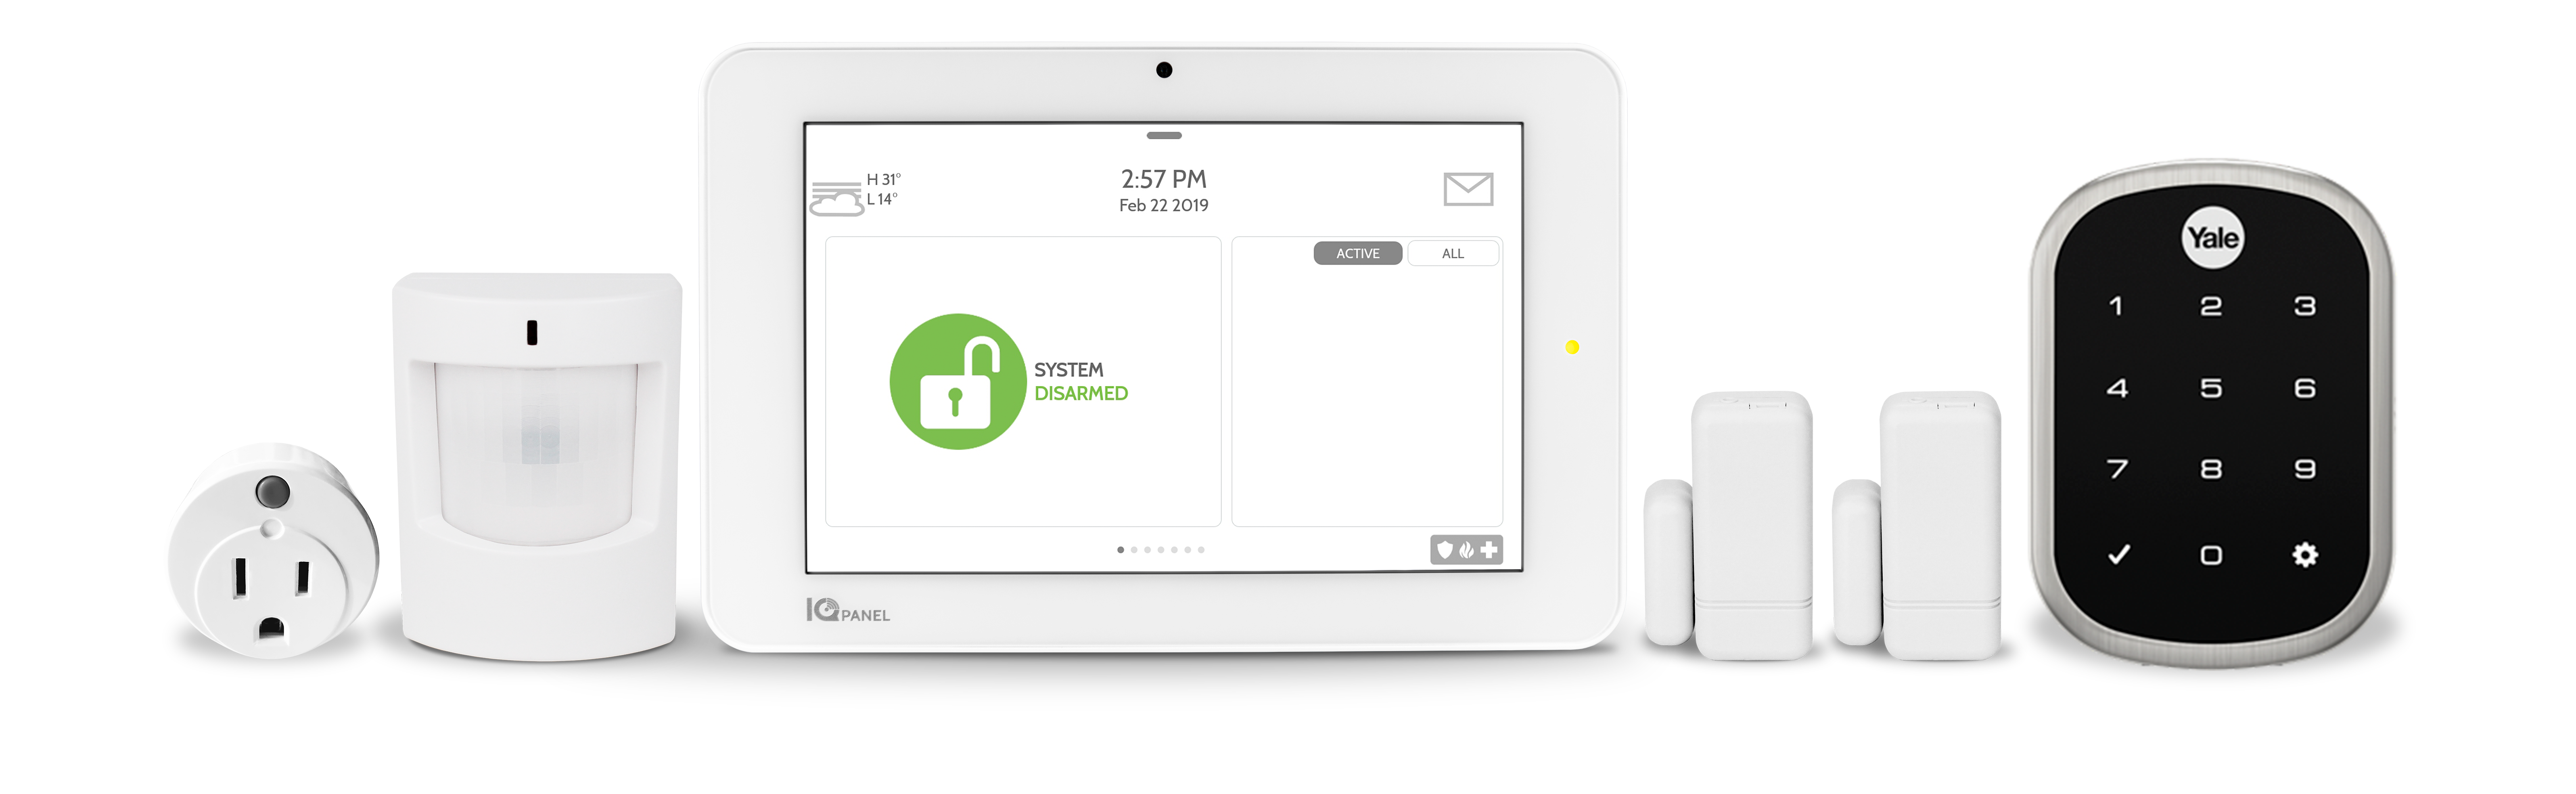
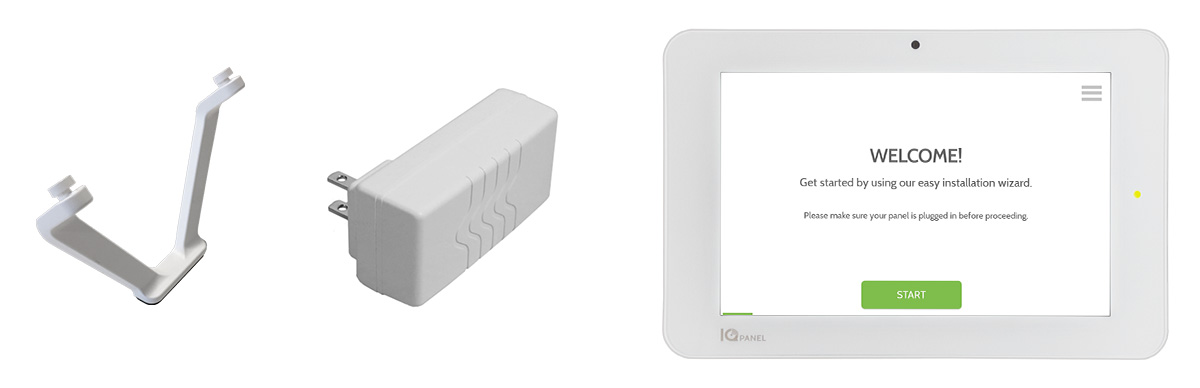
Locate your new All-In-One Touchscreen, power supply and table stand.
STEP 2: Power Up The Panel
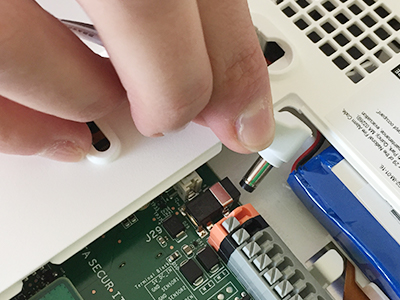
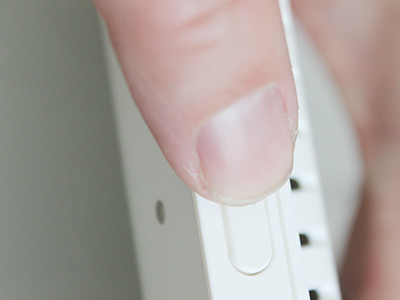
Plug in the power connector.
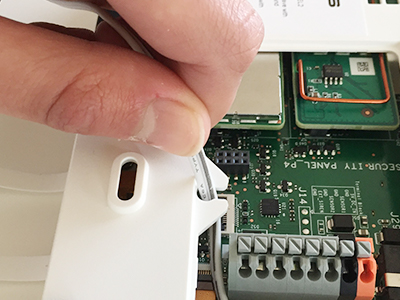
Hook the wire in the strain-relief.
Push the cover down until it snaps in place.
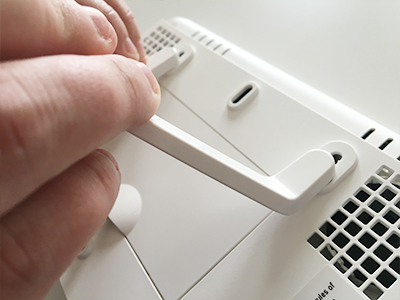
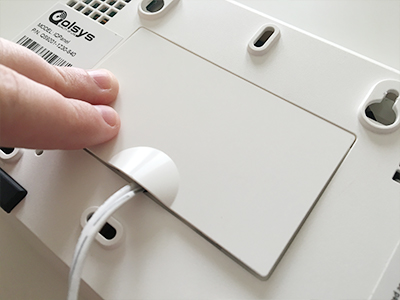
Insert the table stand into the mounting holes and push upward until it snaps into place.
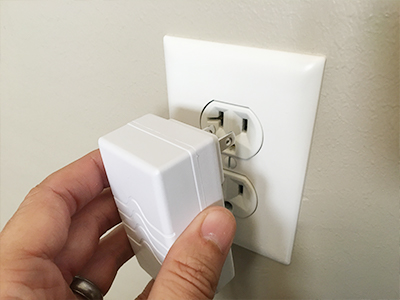
Plug in the power supply.
Push and hold the standby button on the side of the panel for 3 seconds.
STEP 3: Initial Settings
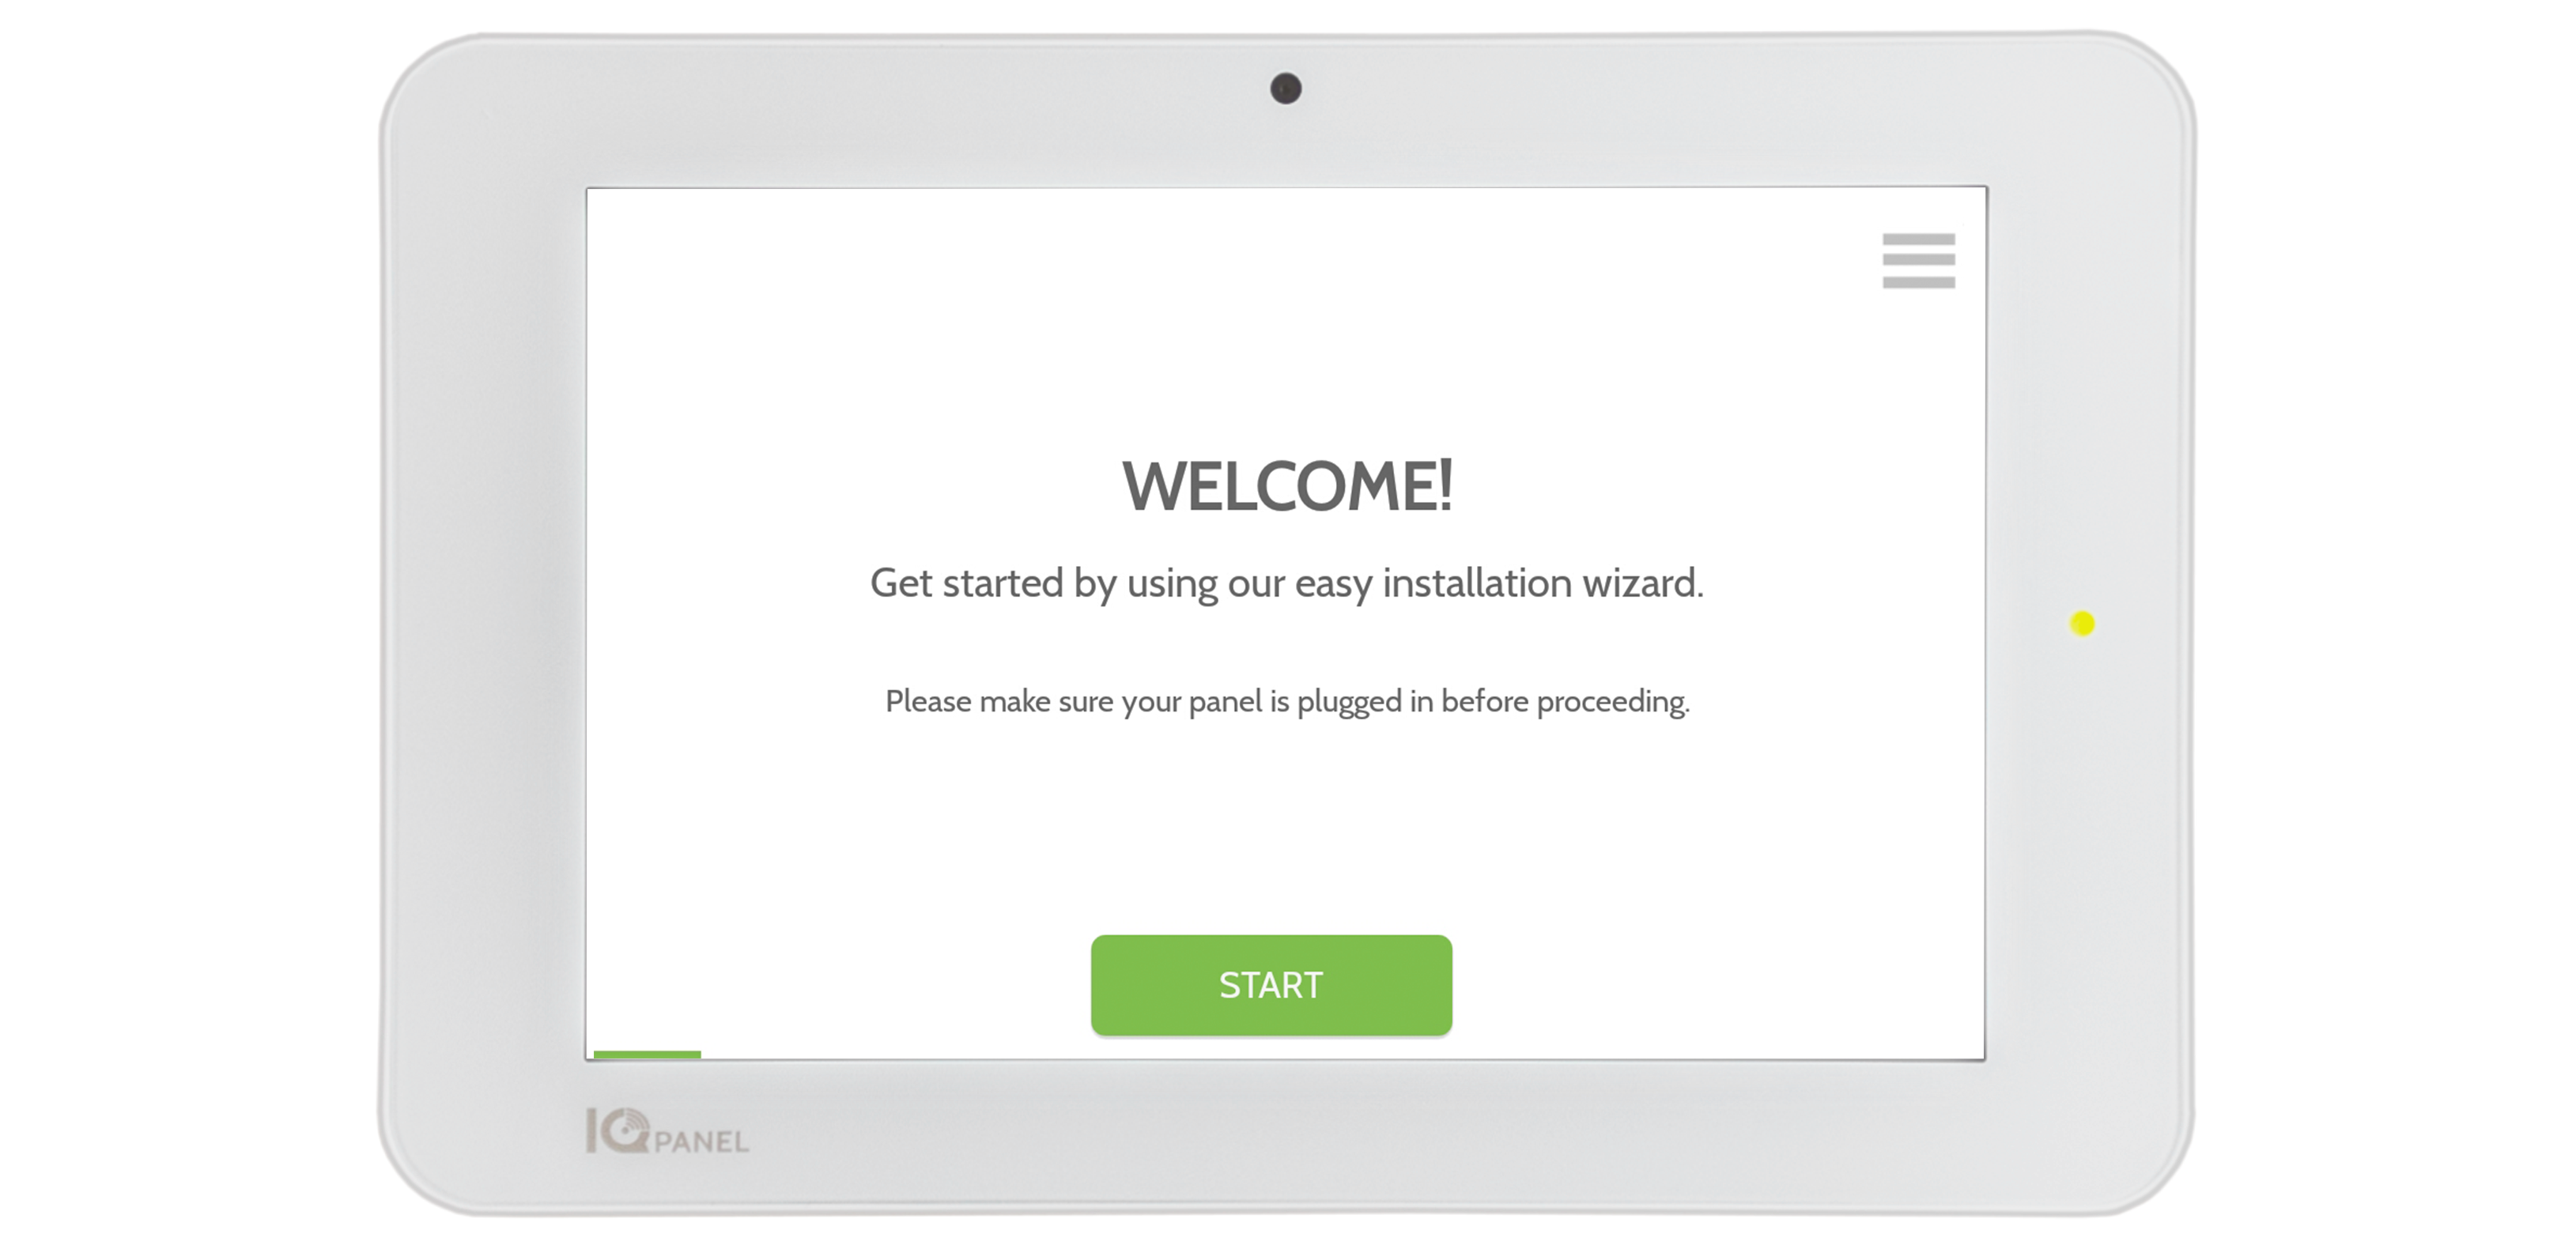
Follow the steps in the on-screen wizard to:
-Connect Wi-Fi
-Run system tests
-Download cloud settings
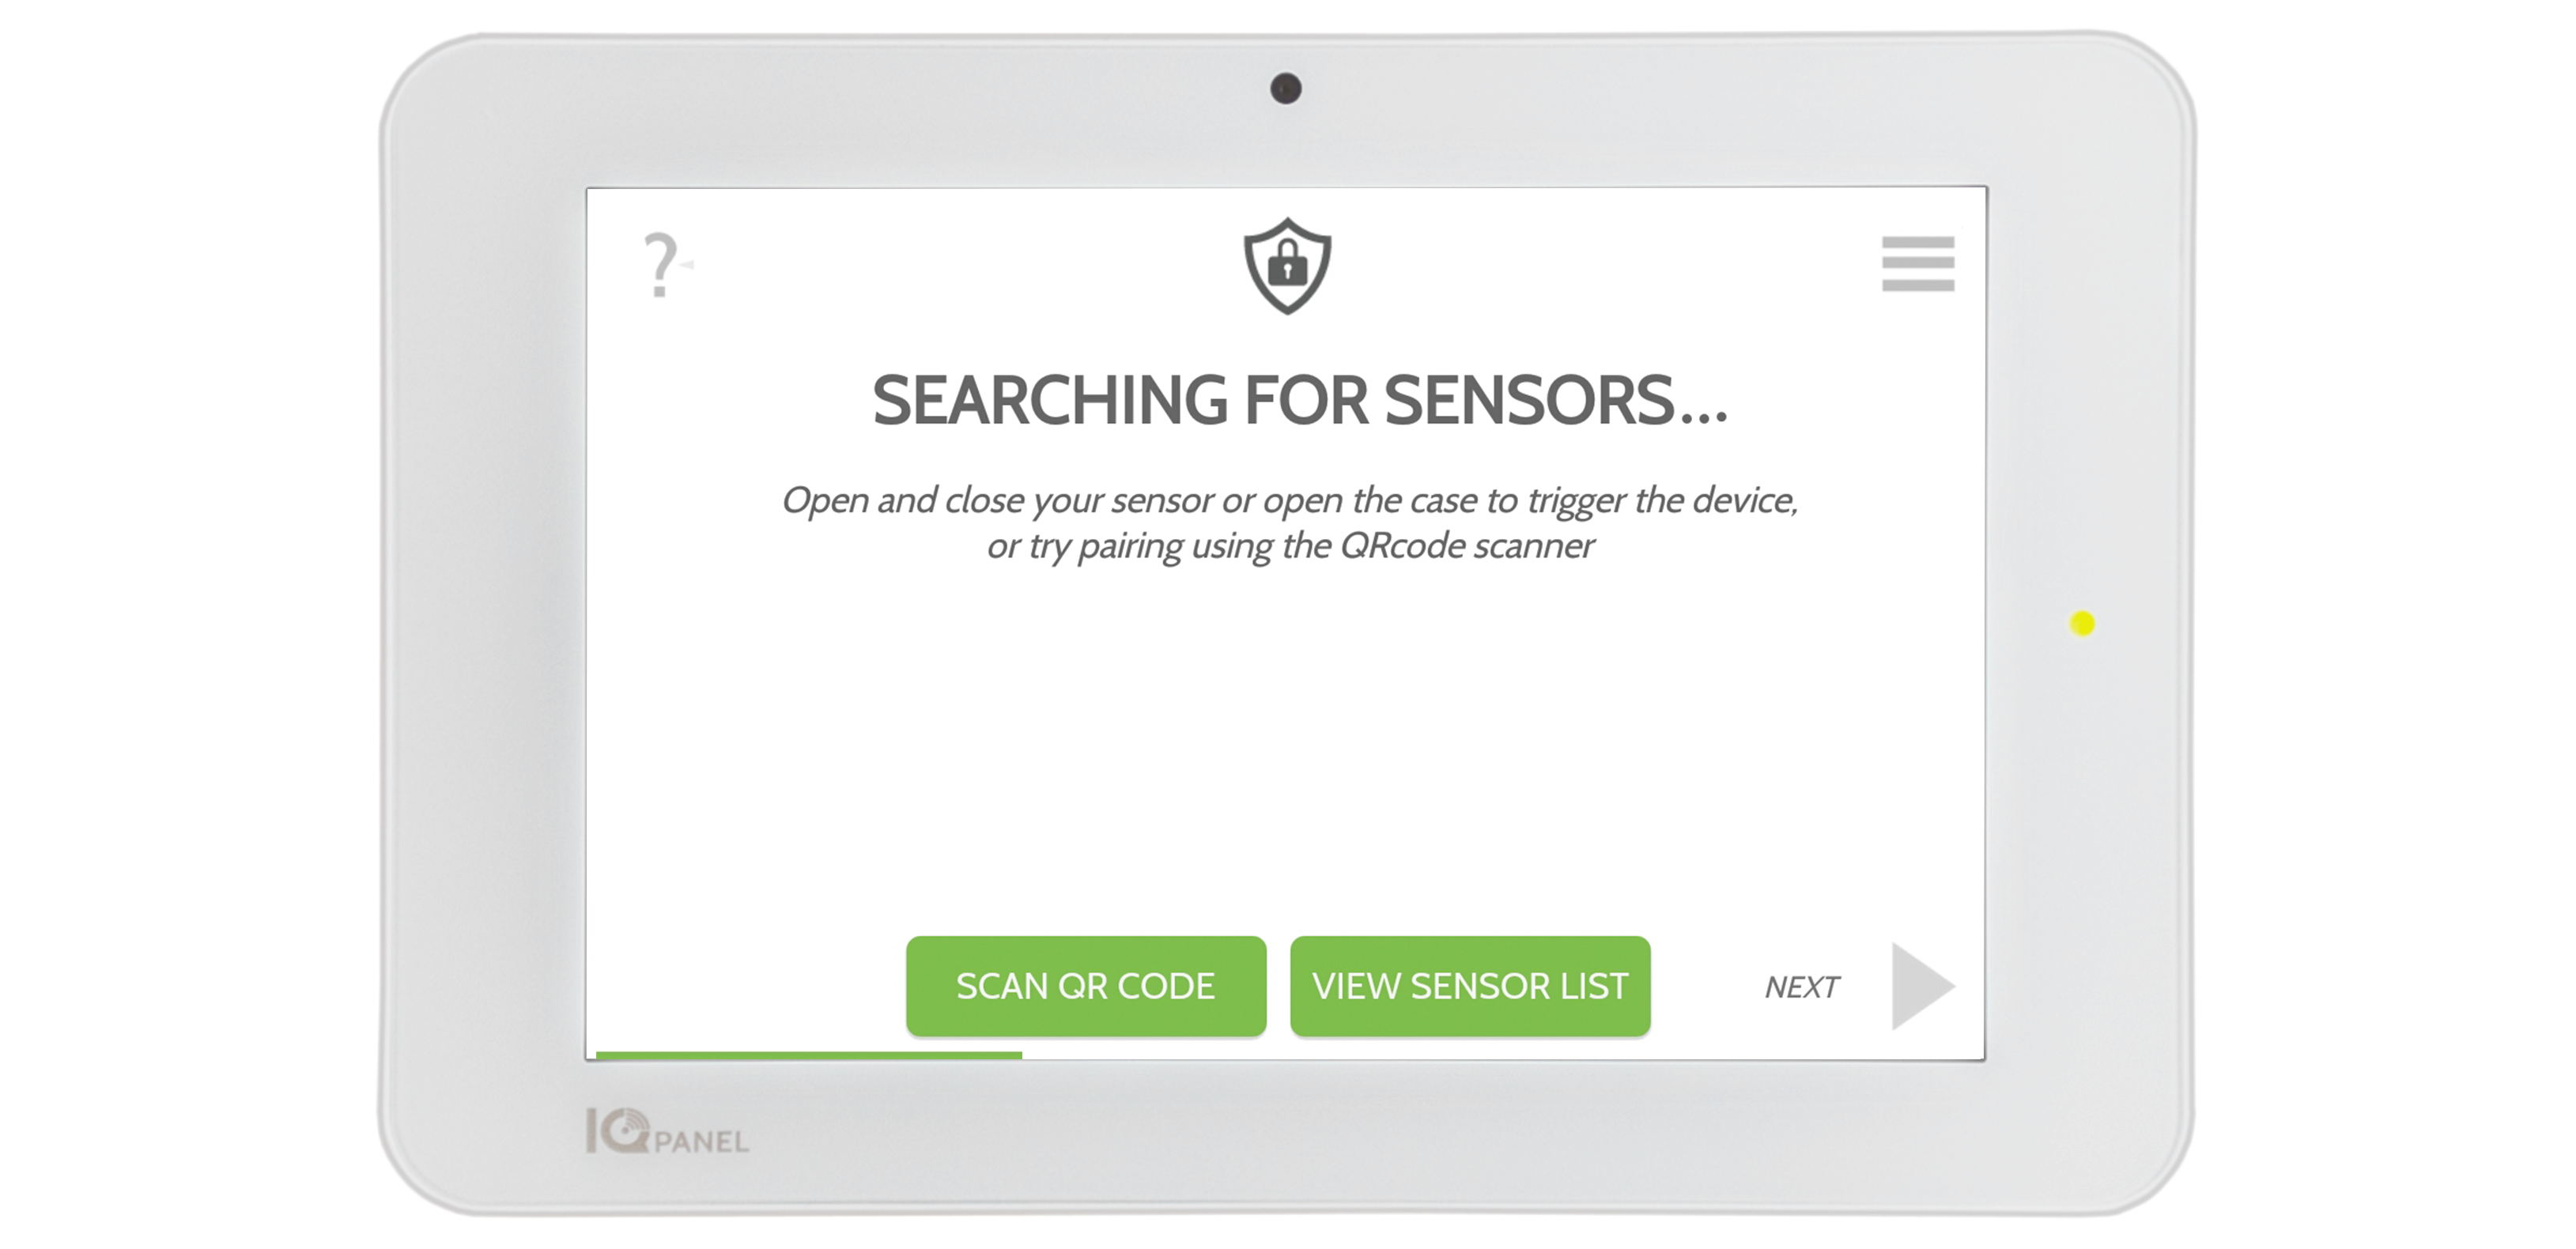
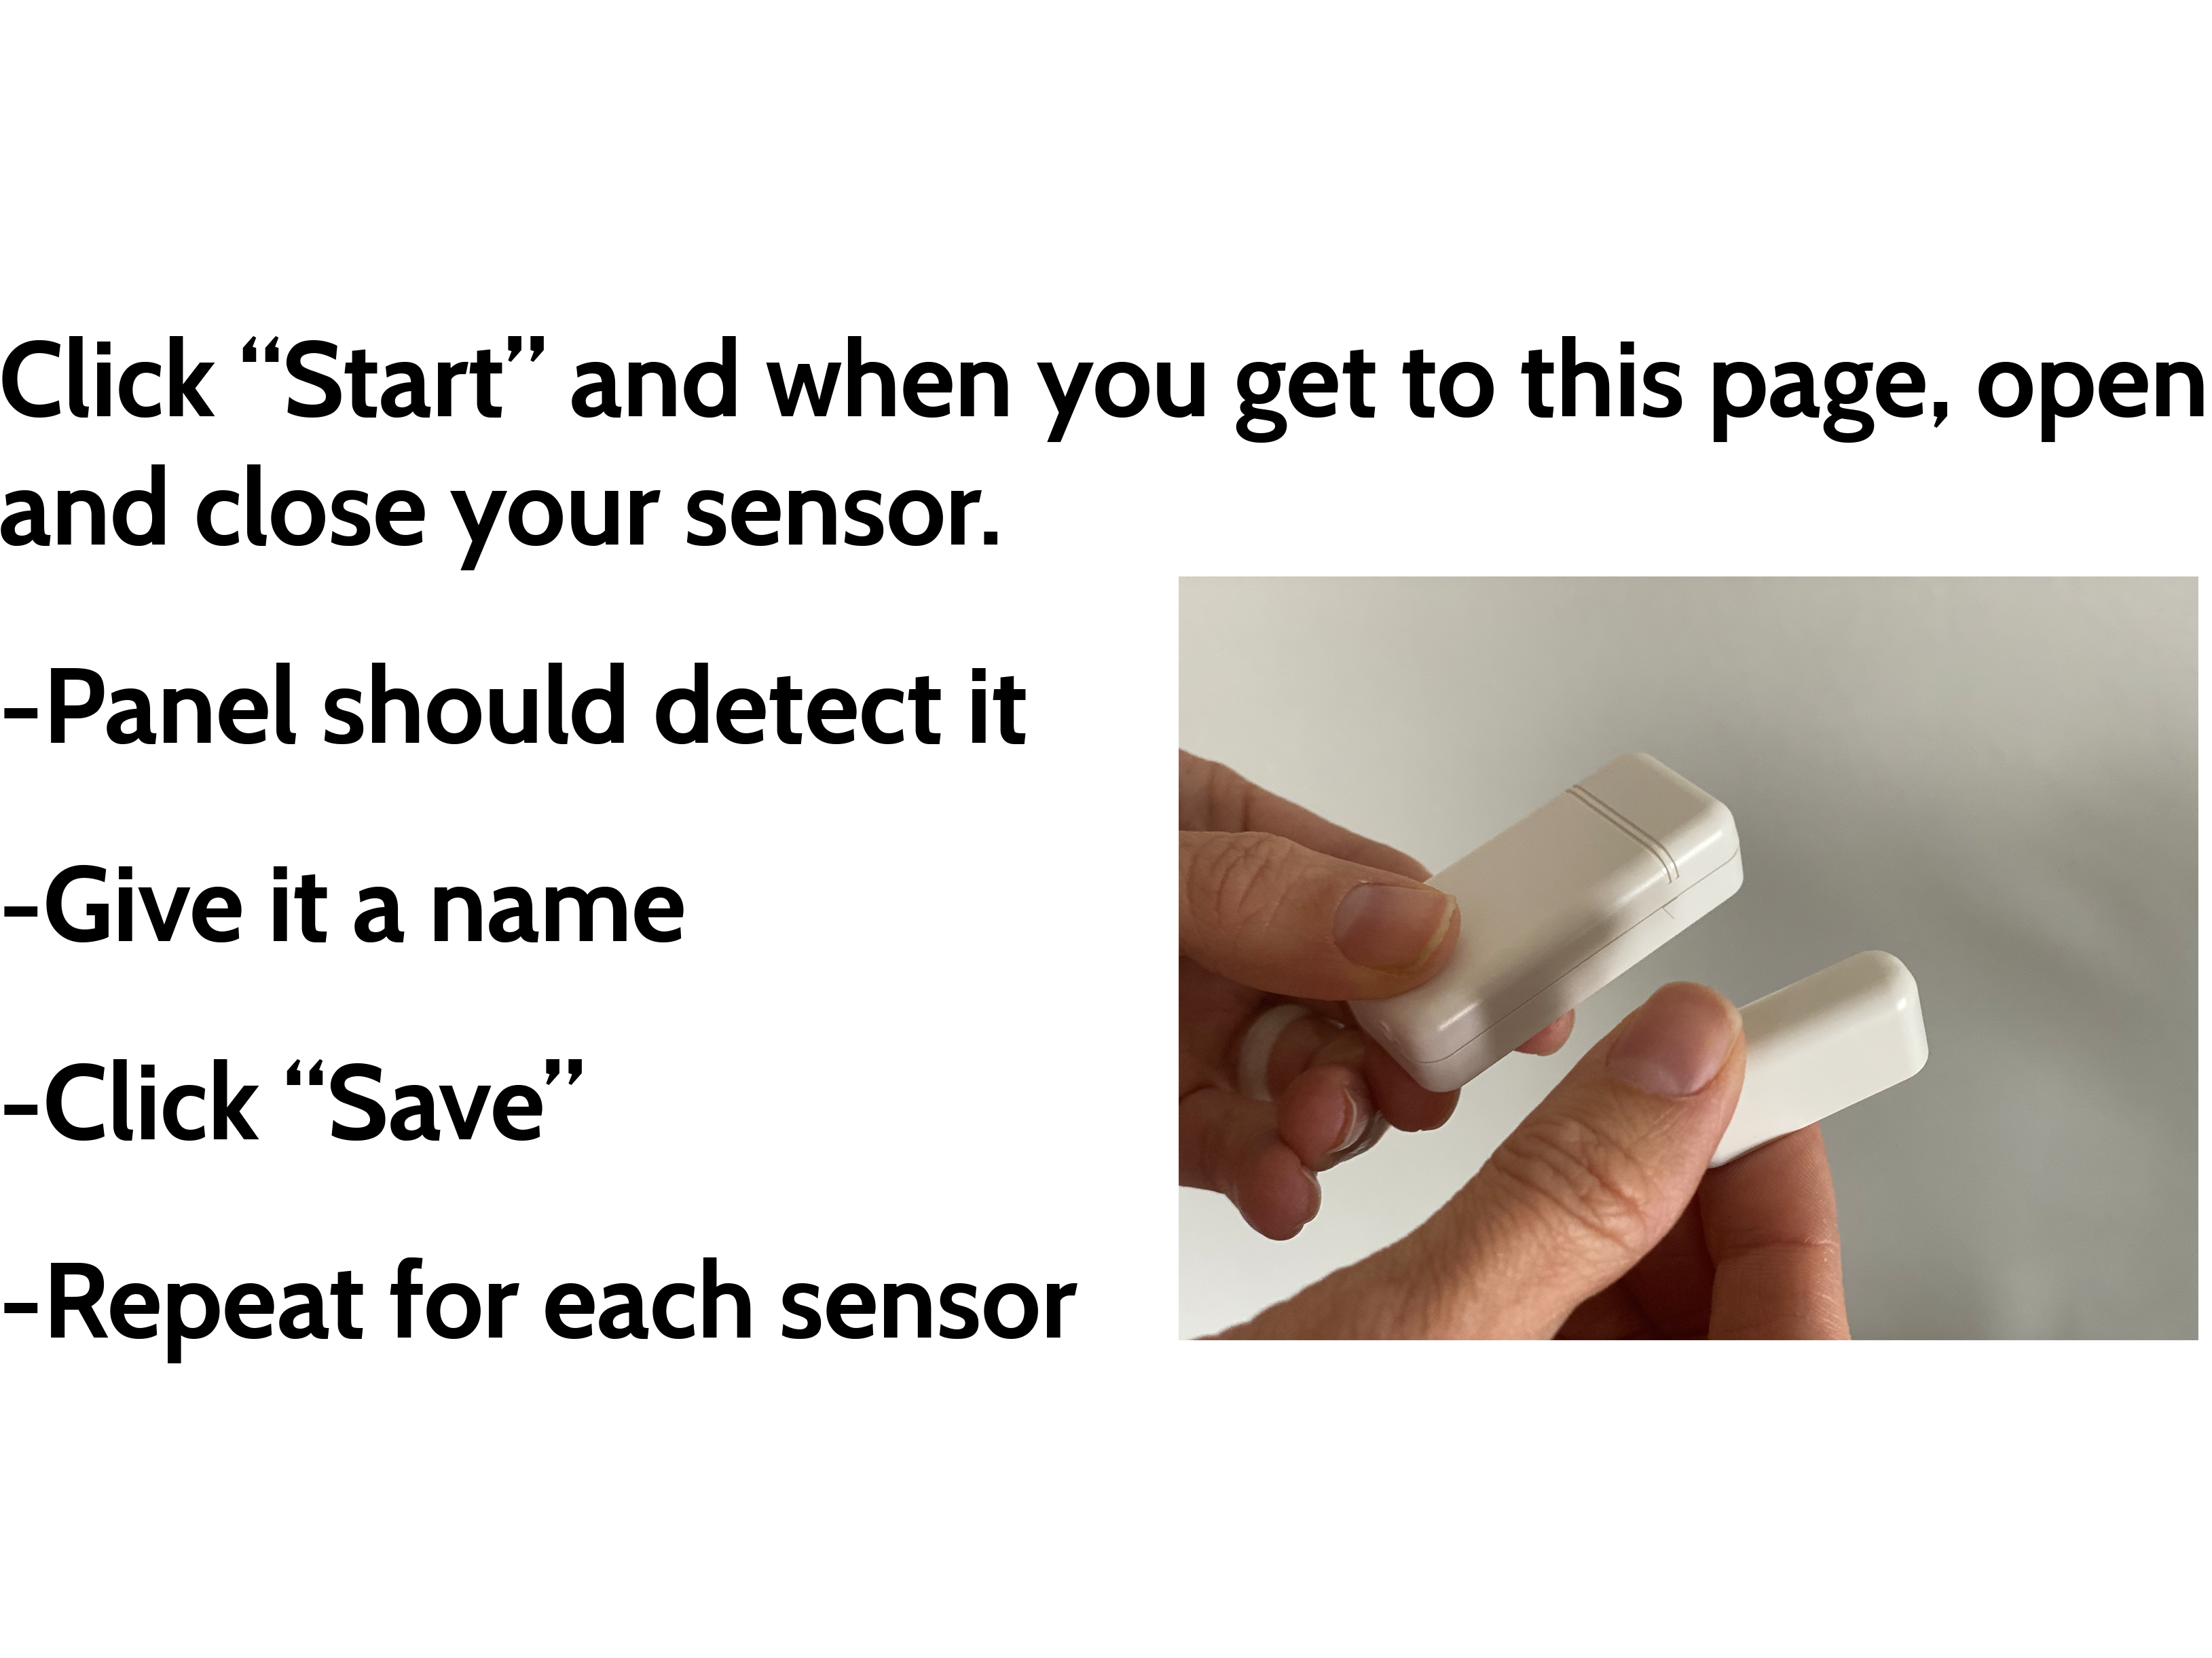
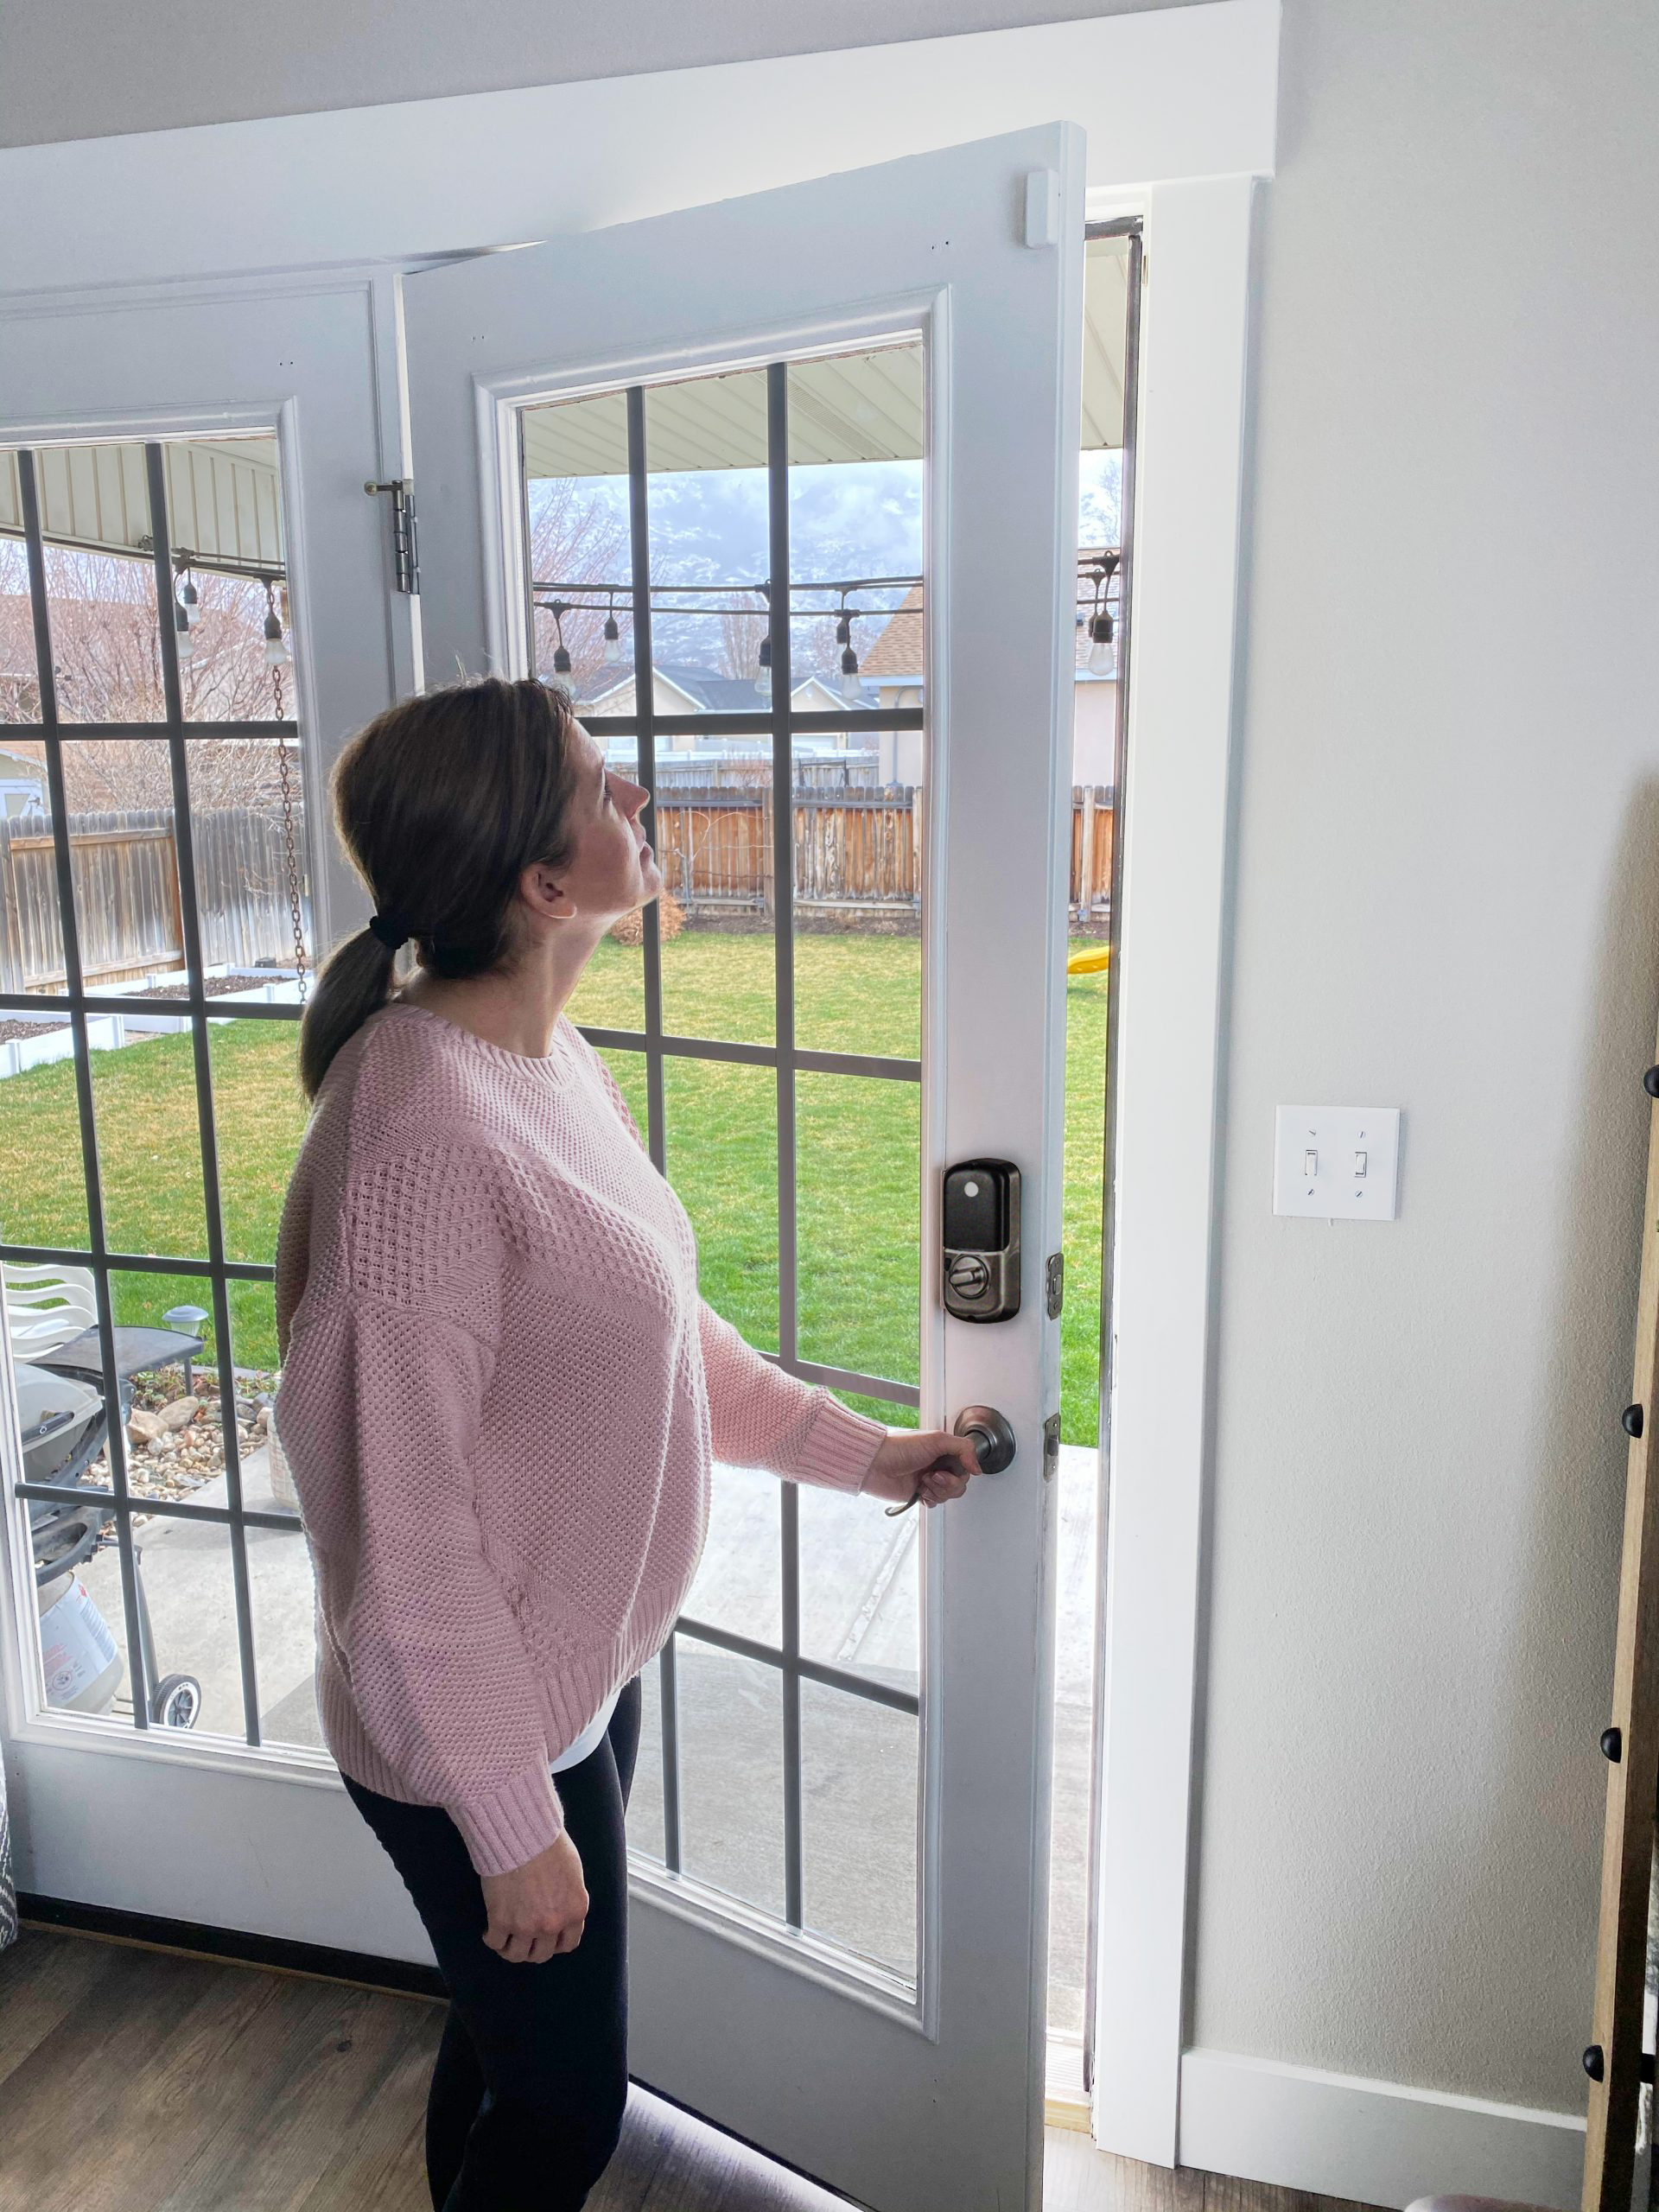
STEP 4: Pair Door/Window Sensors

When you get this page, locate your door/window sensors. Open each box and locate the adhesive.


Apply the adhesive.

Remove the two battery tabs.

Remove the protective film.
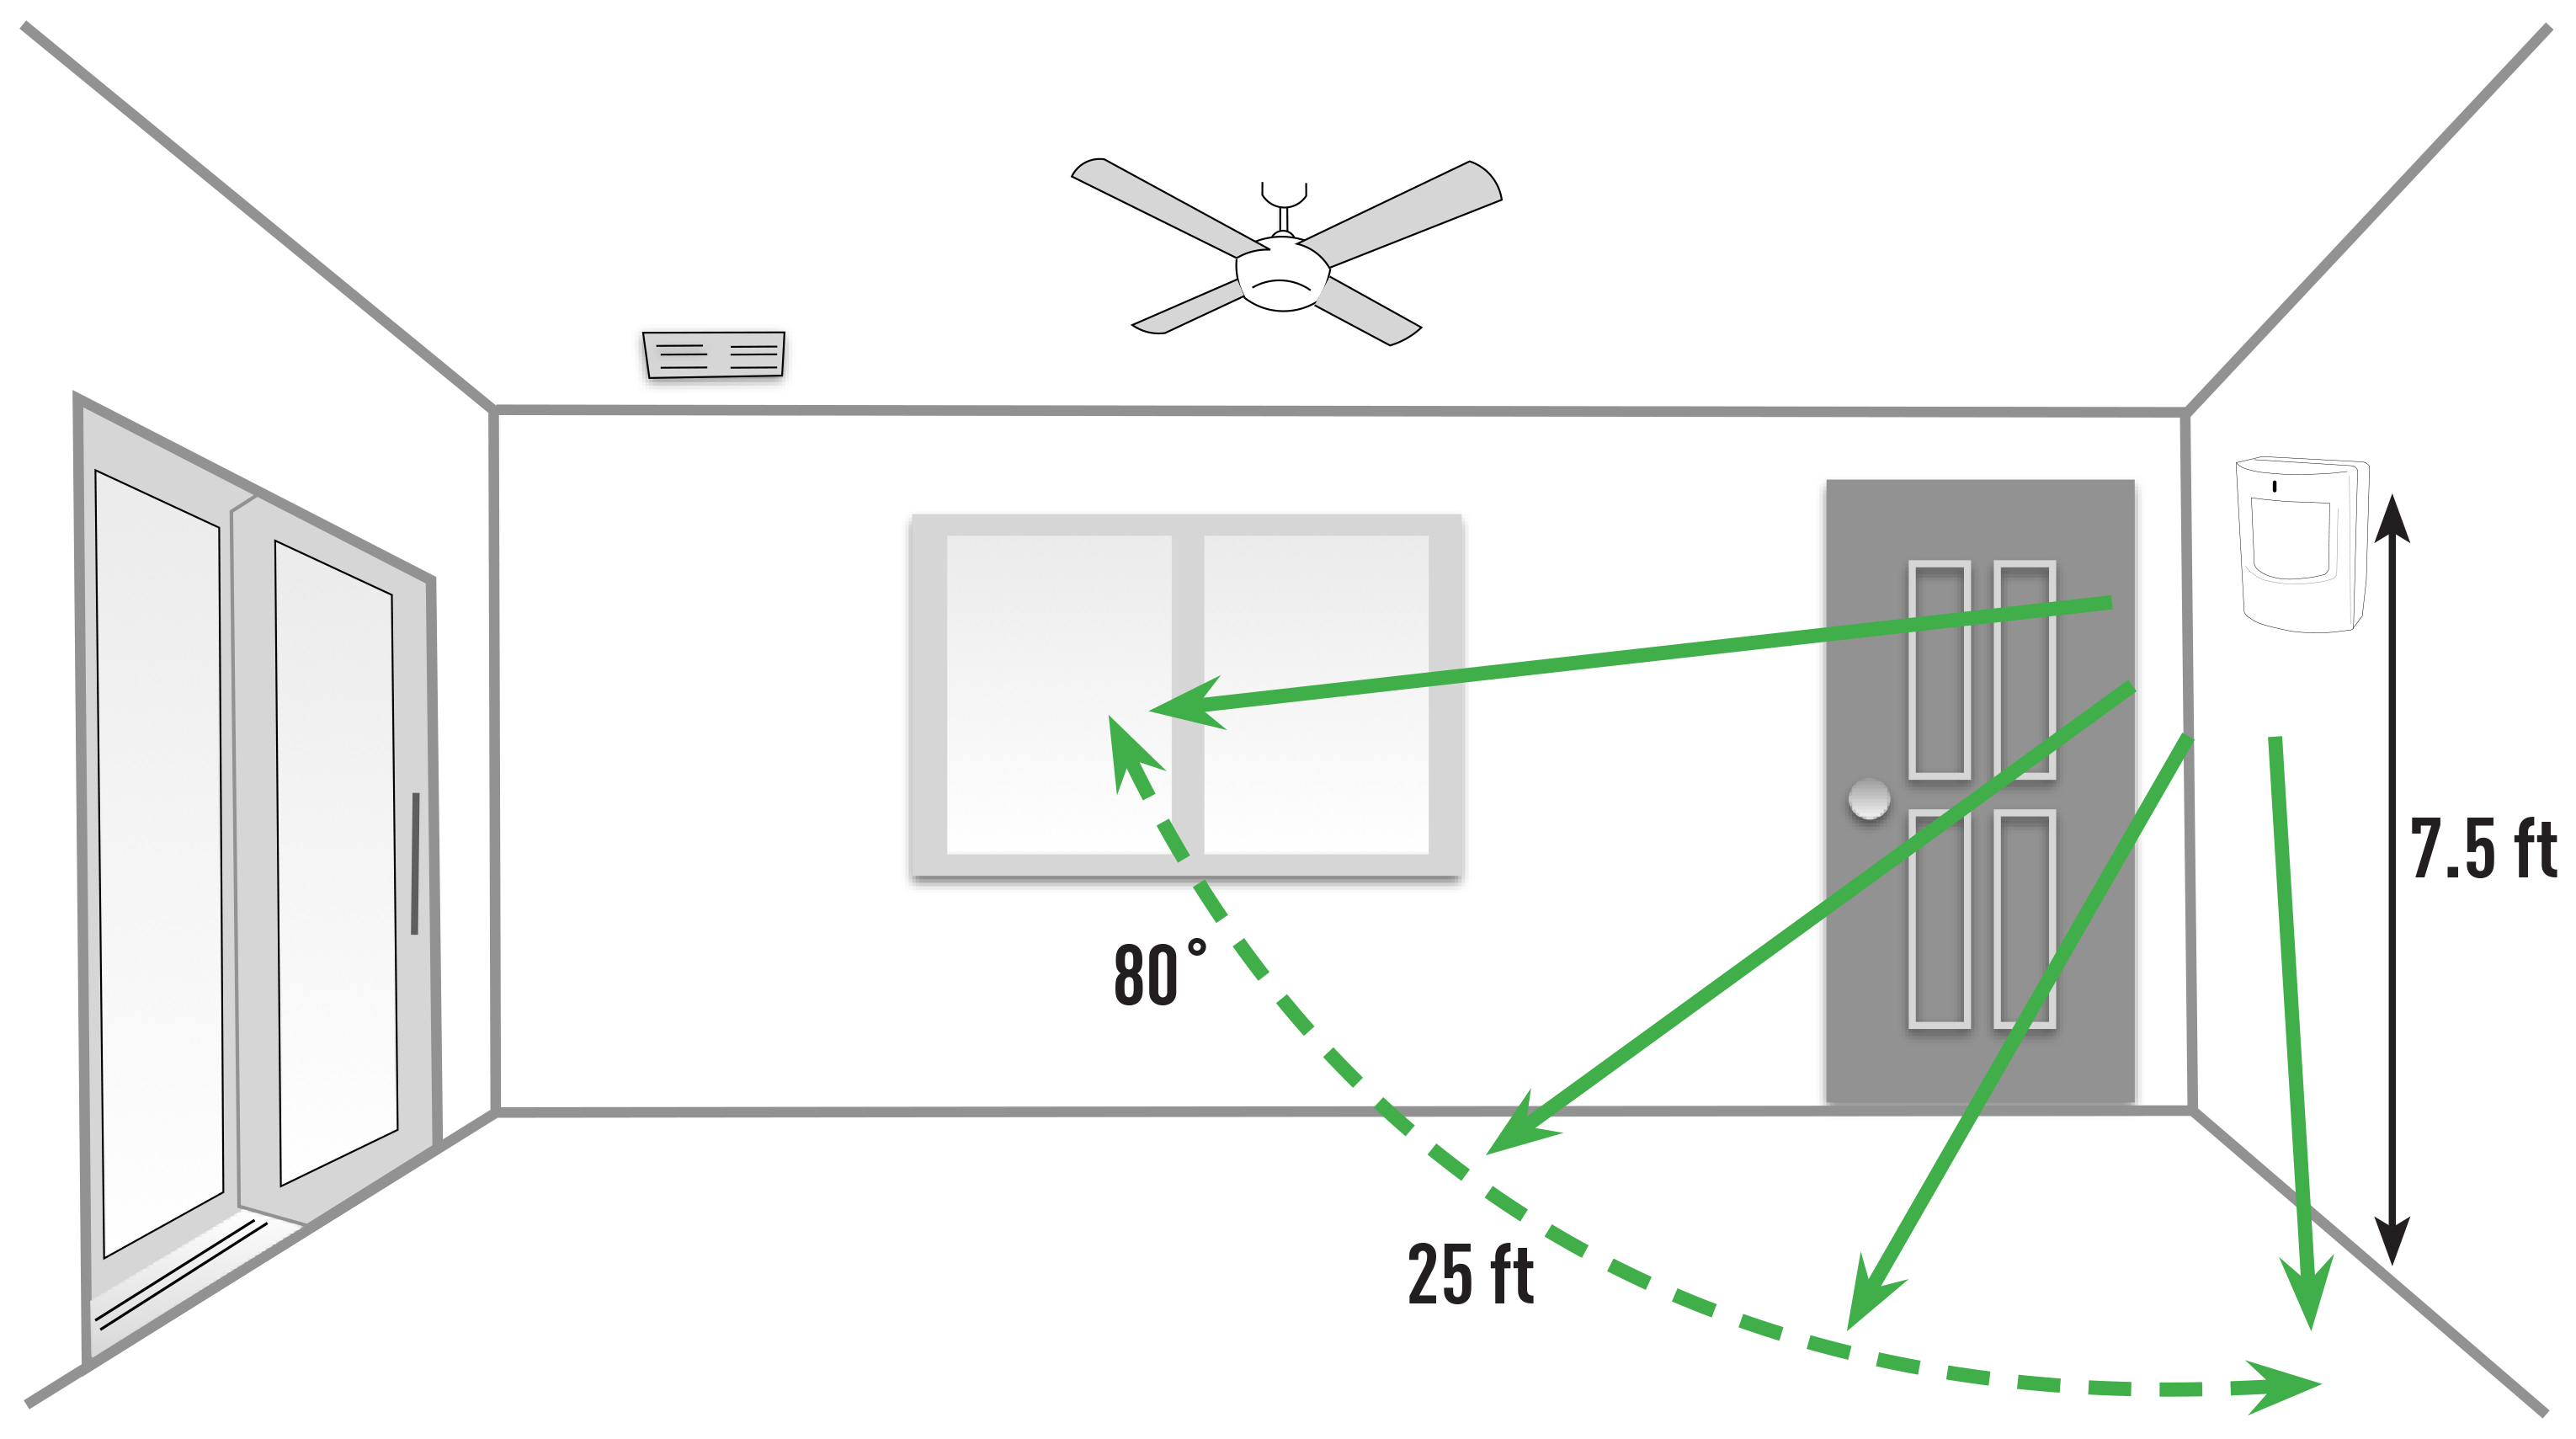
STEP 5: Place Door/Window Sensors

STEP 6: Pair Motion Sensor
When you get this page, locate your motion sensor. Open the box and locate the adhesive.
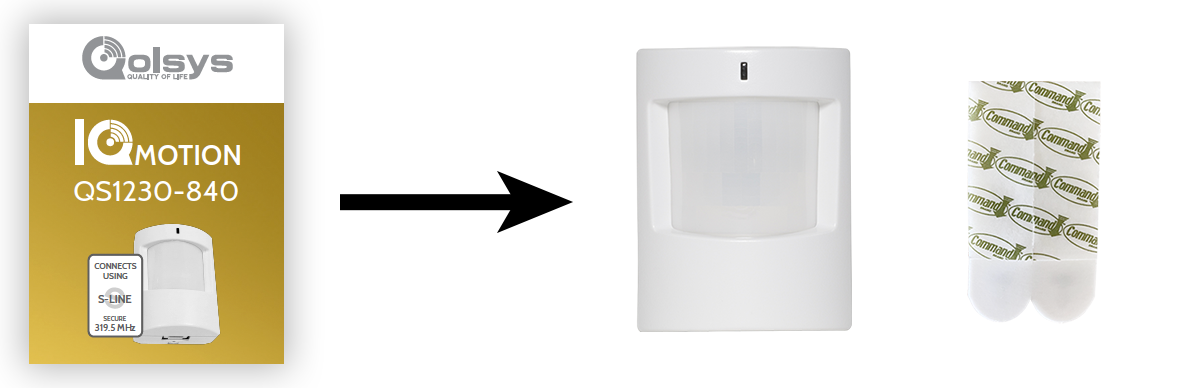

Open the device to remove the backplate.

Remove the battery tab.

Re-install motion device to the backplate.

Apply the adhesive to the backplate.

Reduce False Alarms: When possible, avoid installing your motion sensor near ceiling fans, heating ducts, or pointed towards windows.
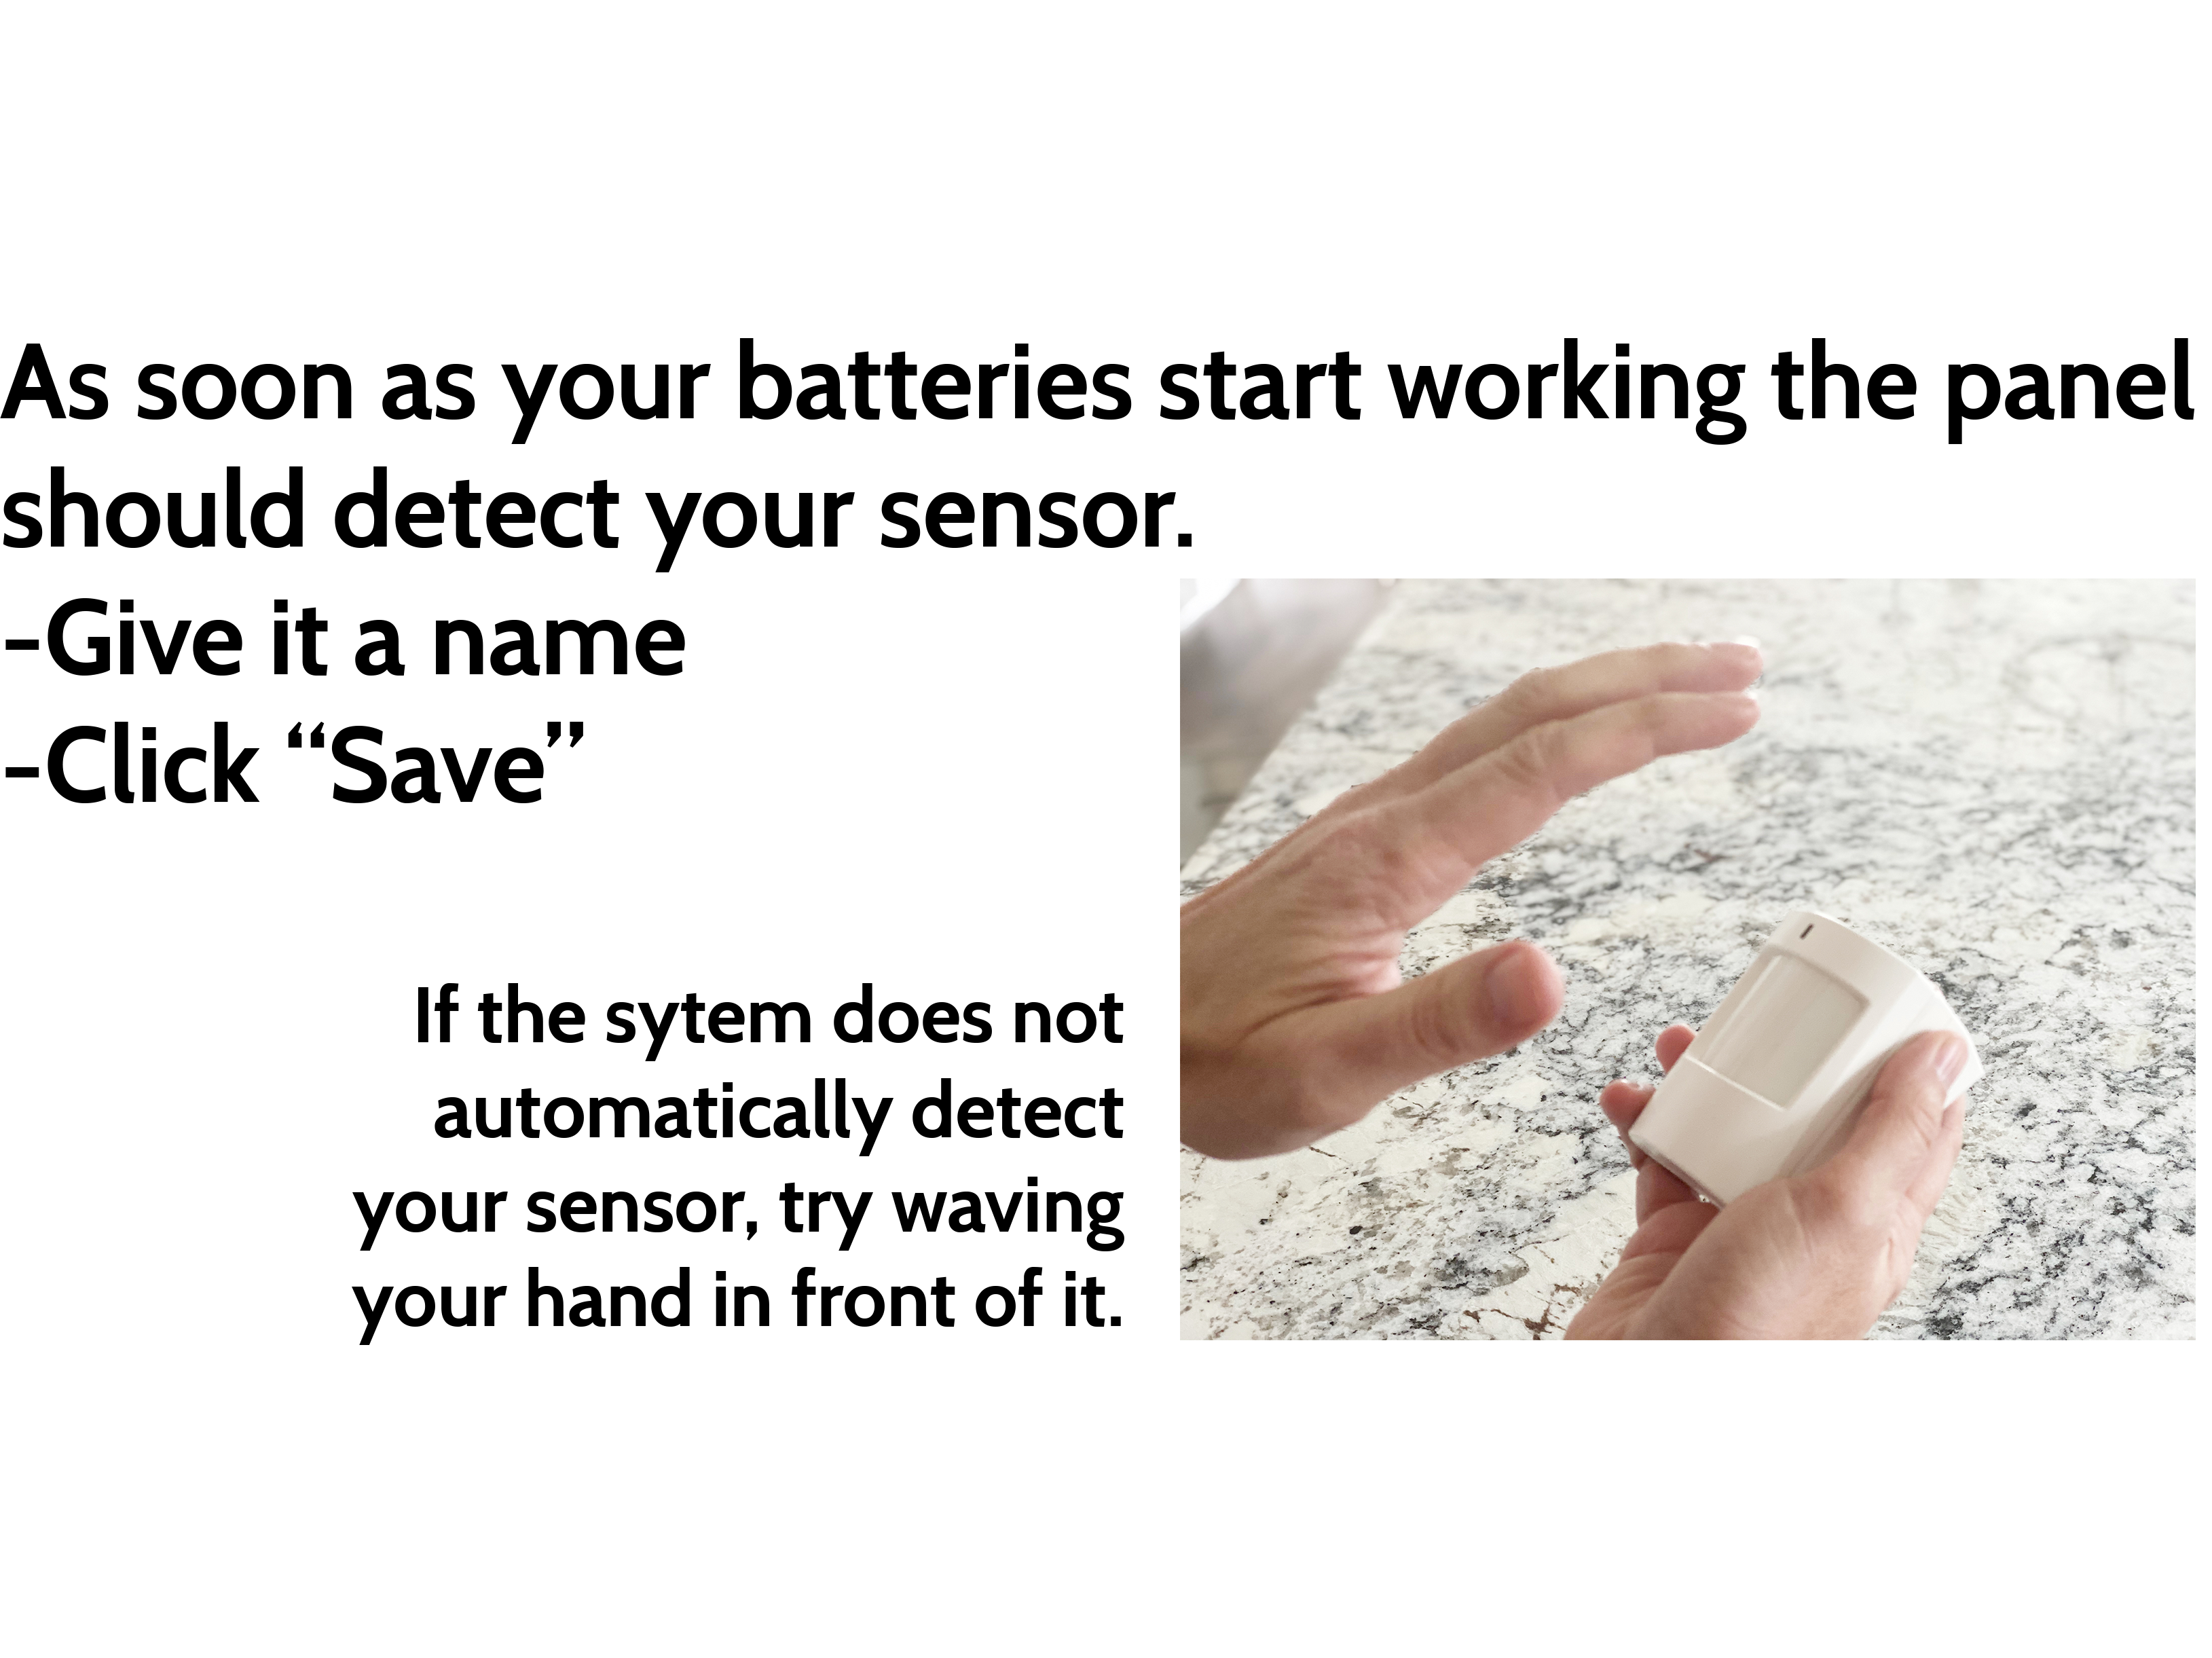
STEP 7: Test Your Sensors
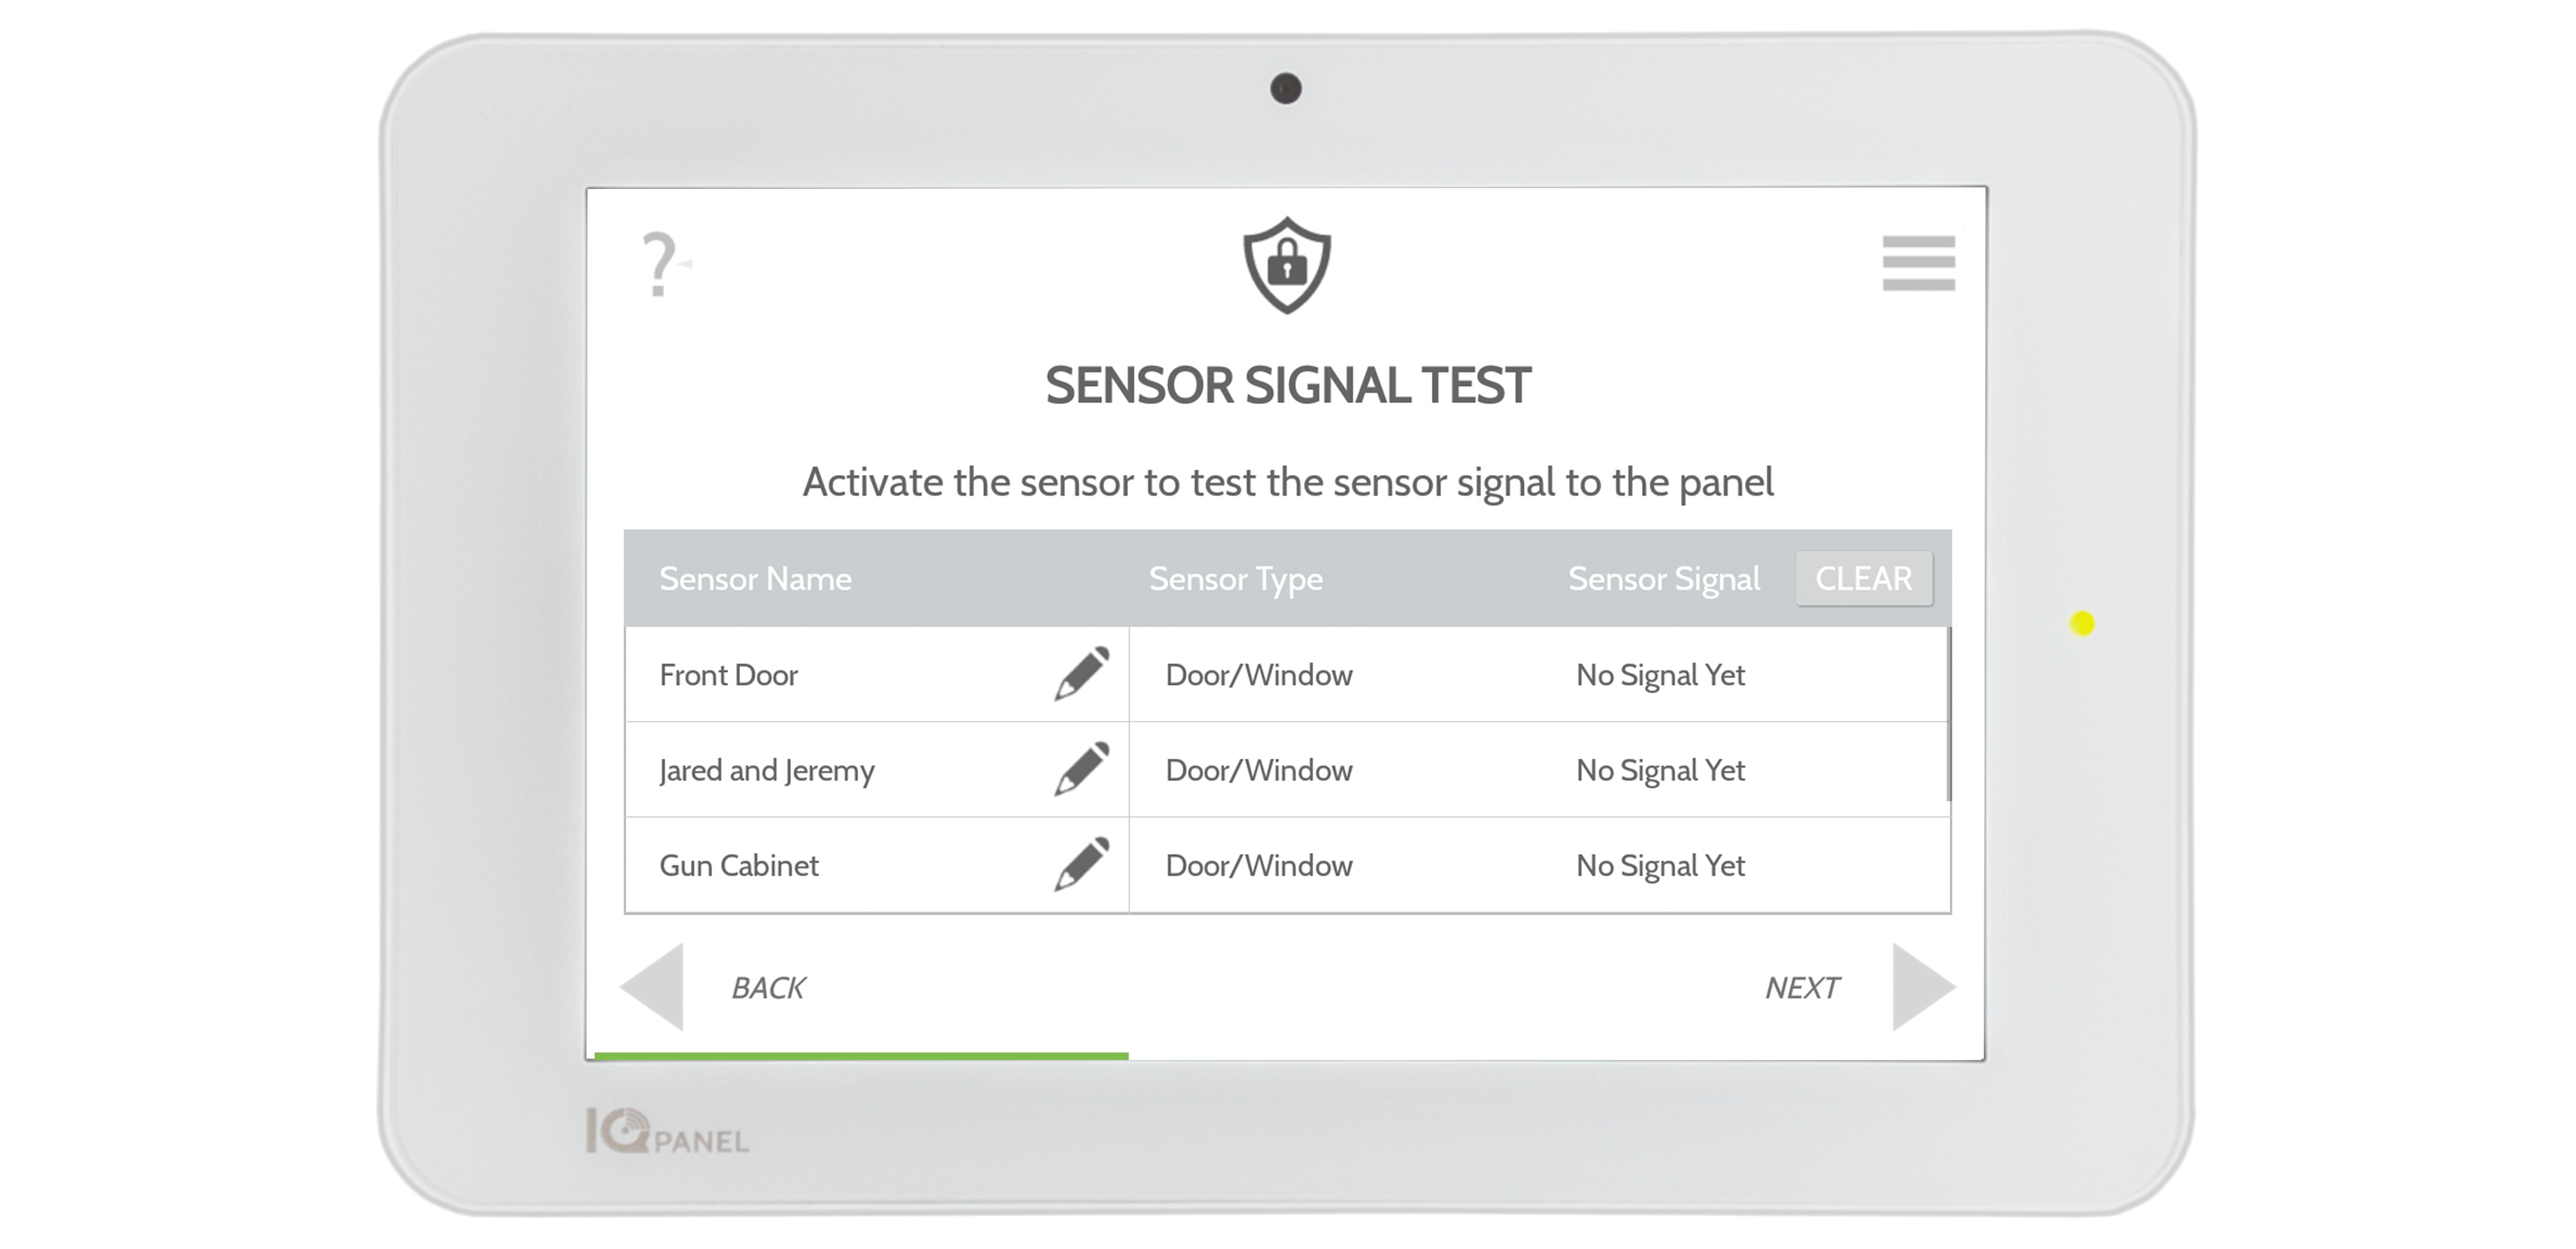
When you get to this page your system begins checking your sensors to ensure everything is working properly. Open and close each door or window several times and wave your hands in front of the motion sensor. Results on screen. (If your results are not "Excellent" or "Good" consider changing panel location.)
STEP 8: Add Your Z-Wave Devices
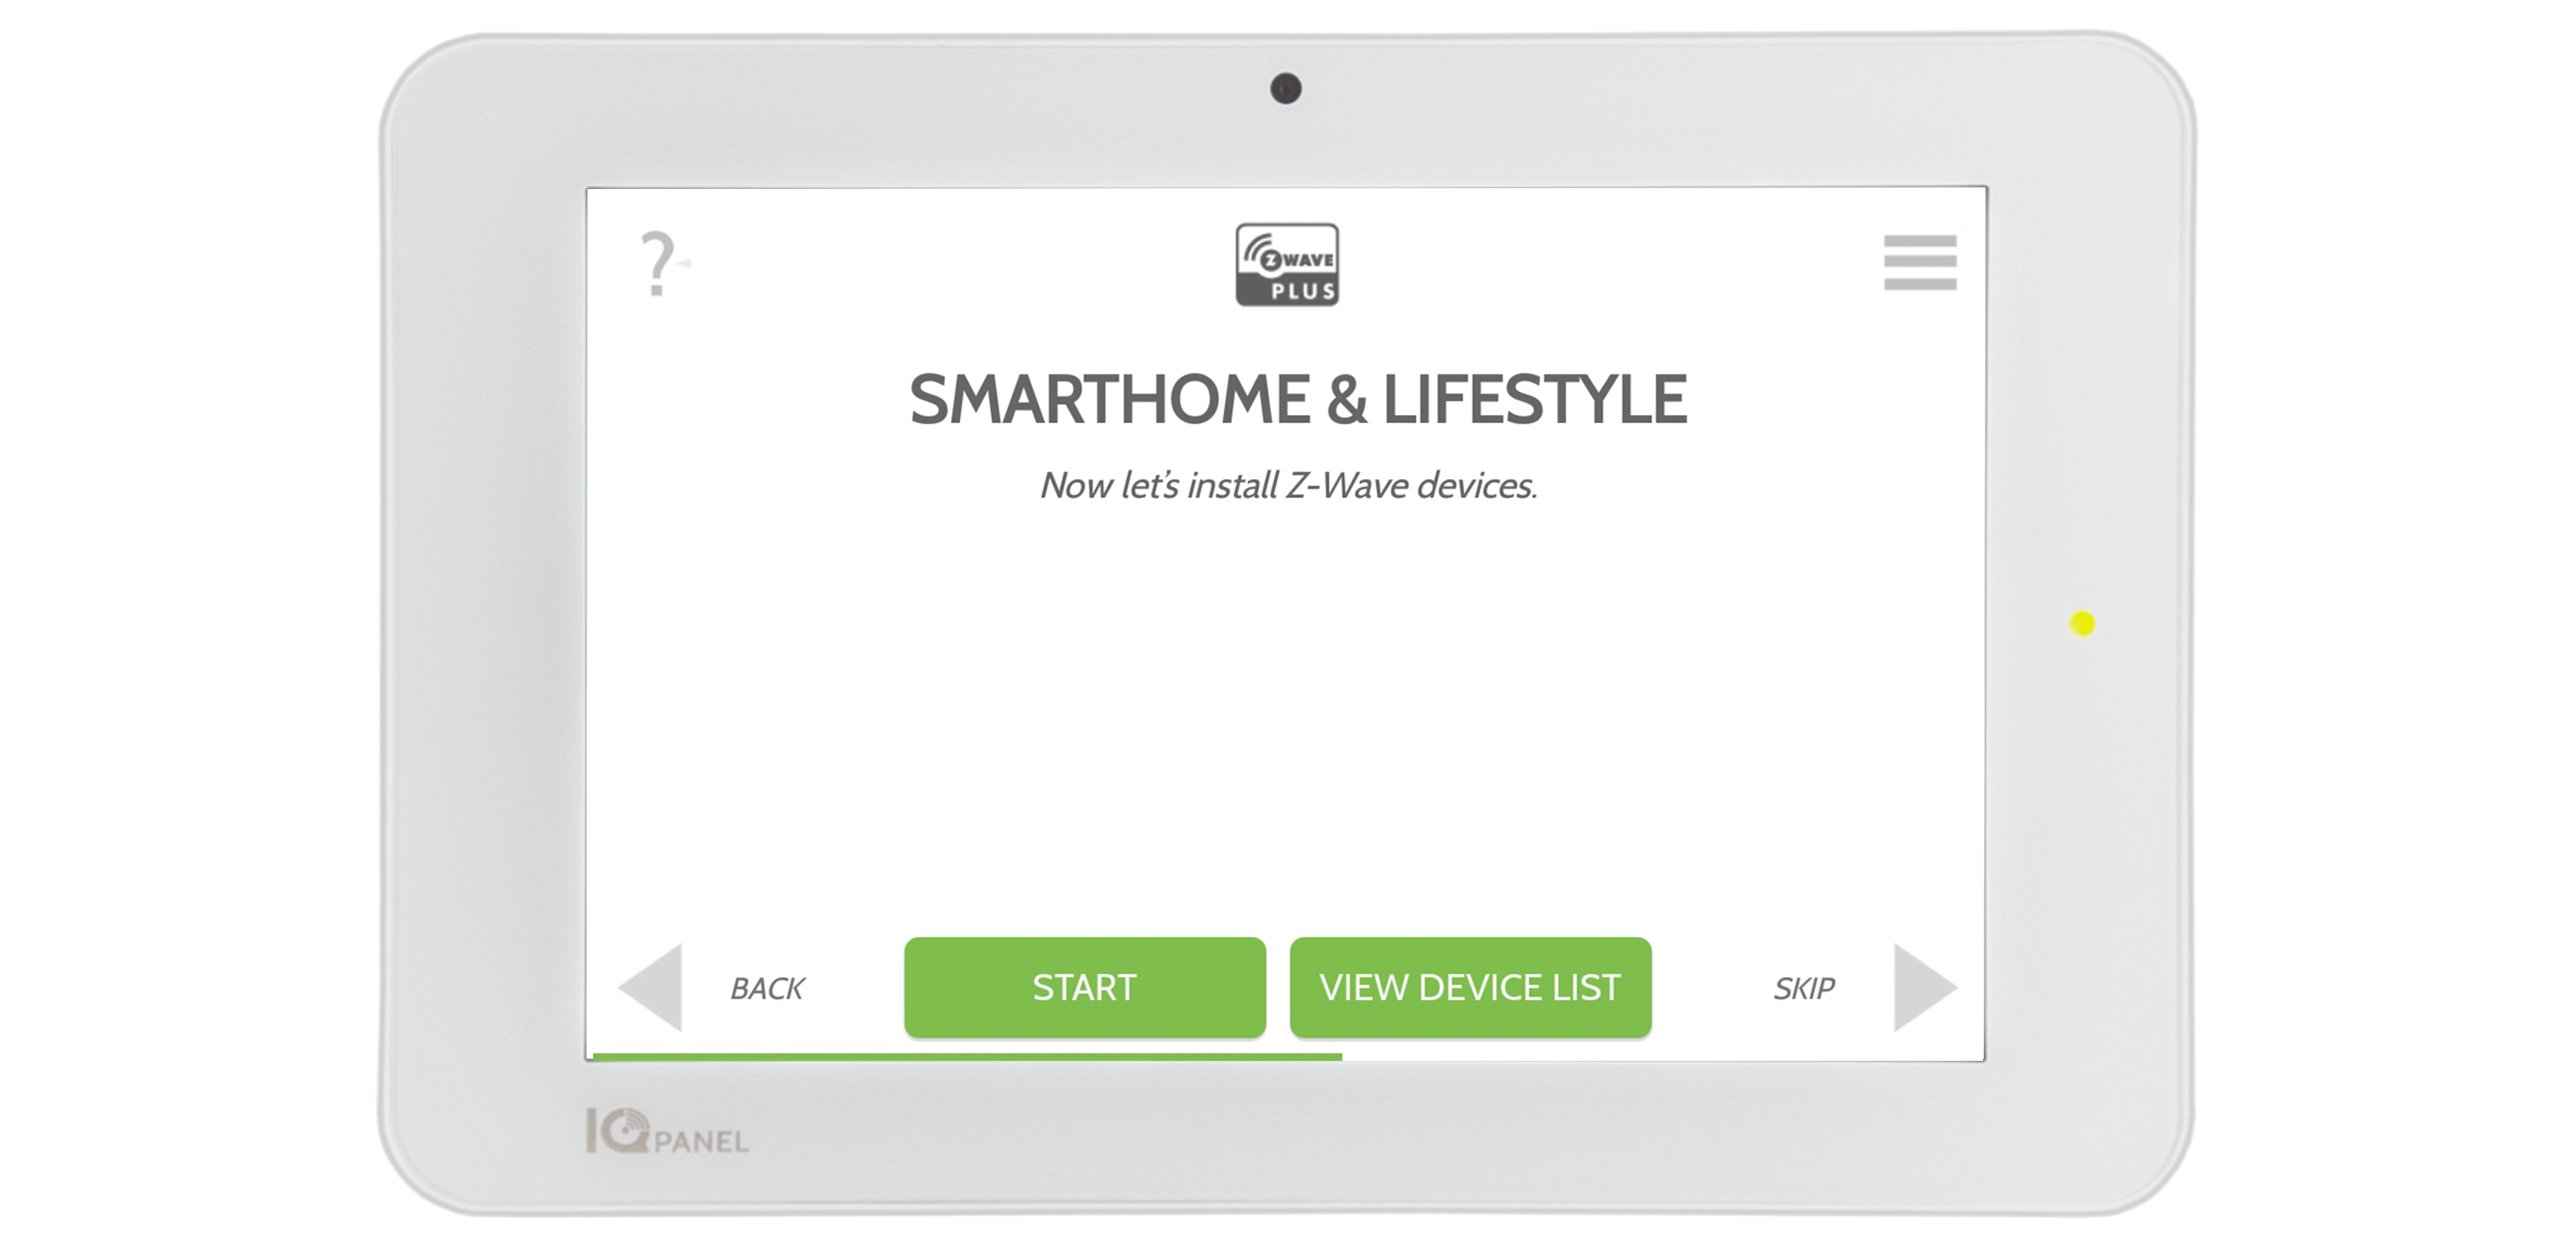
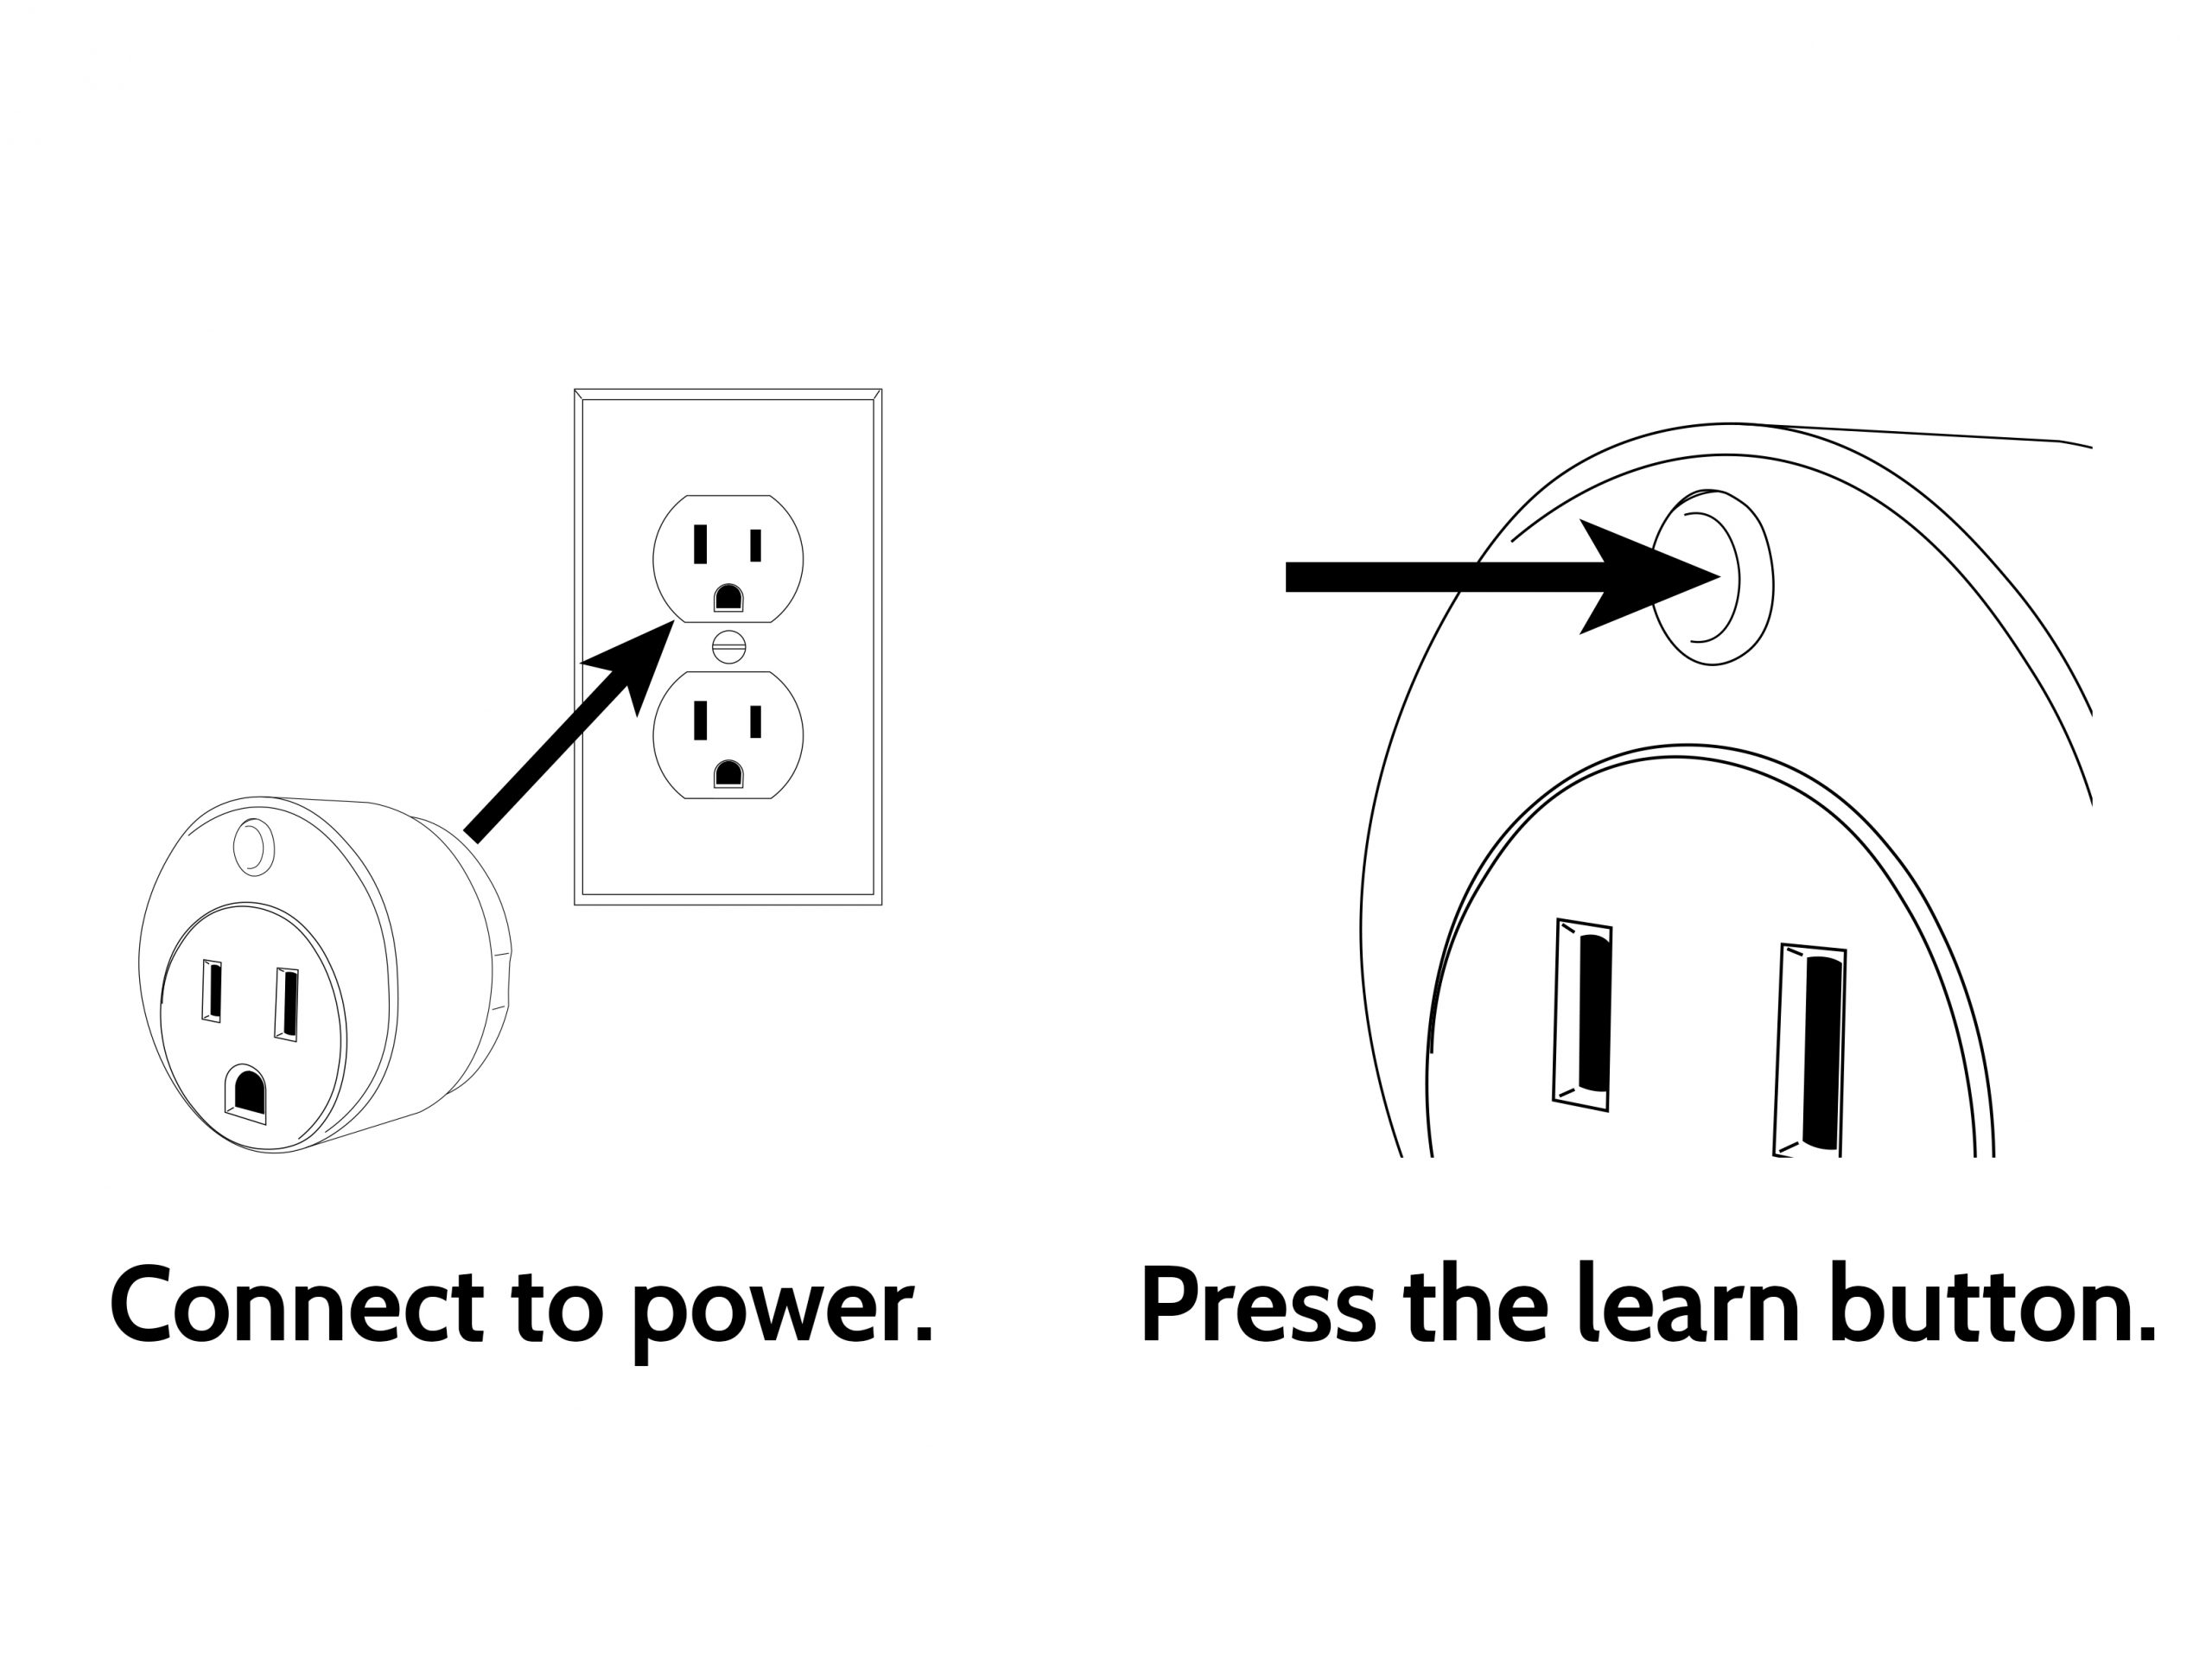
Locate your Smart Plug and plug it in.
Follow the prompts on the screen to clear then pair your new device. PLEASE NOTE: After adding your devices, the system will prompt you to test the connections. Be sure they are in their "final" installation locations before starting this test.
This is also the time where you will be learning in your Yale door lock. Please refer to step 9 to install before learning the lock in.
STEP 9: Download Bilt App

![]()
![]()
Download the Bilt app to you phone or tablet.
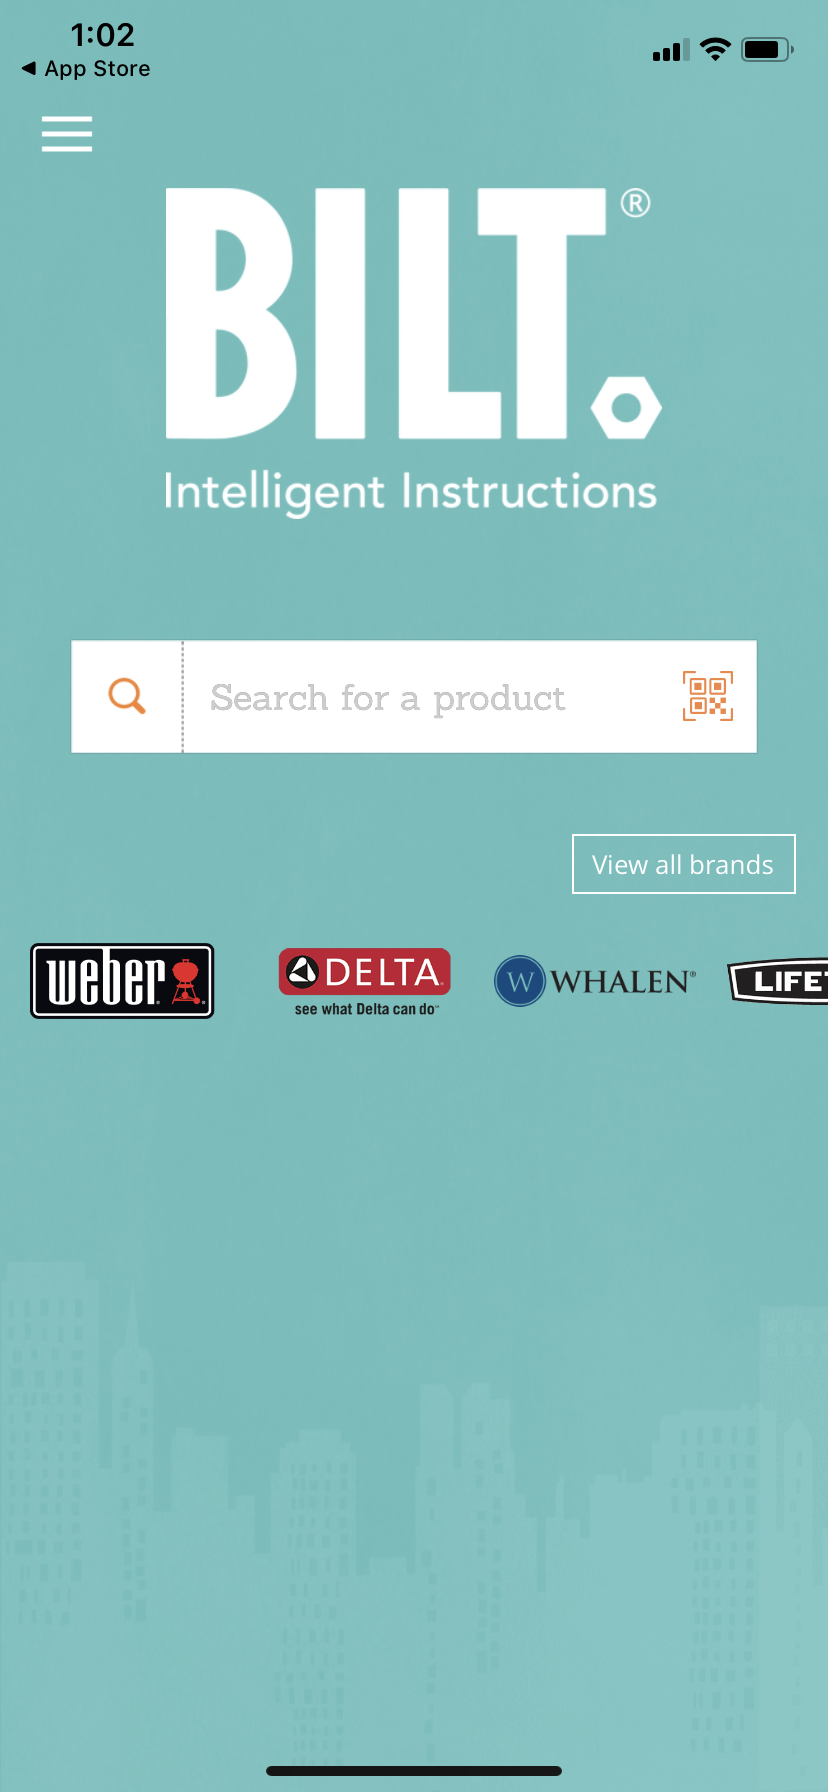
Look up "YRD156".
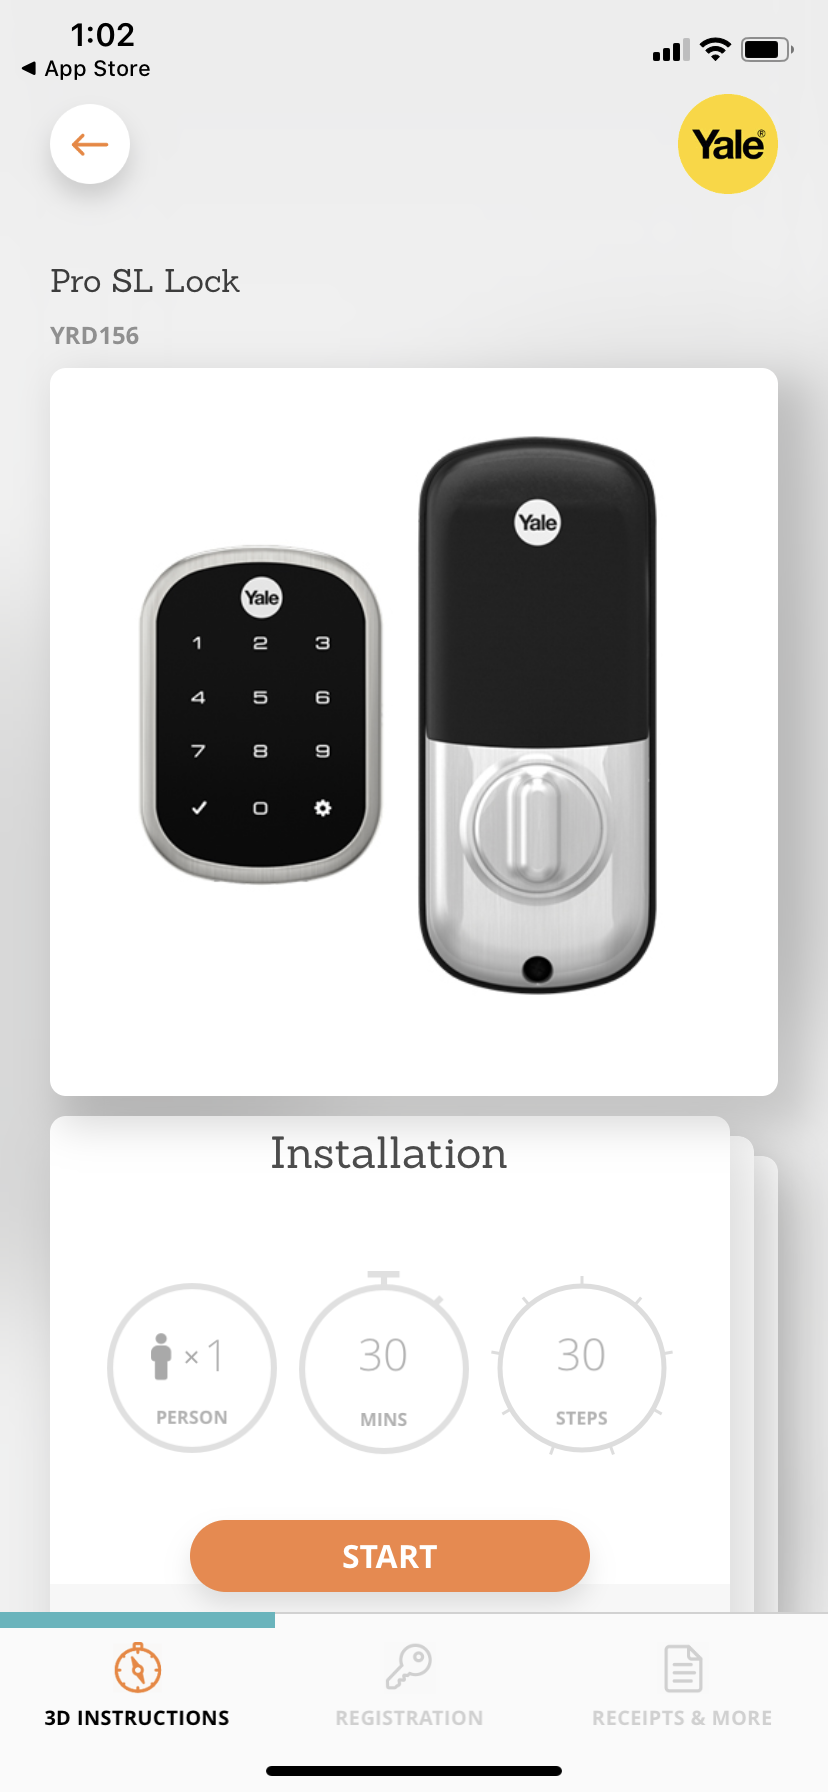
Select START to begin install.
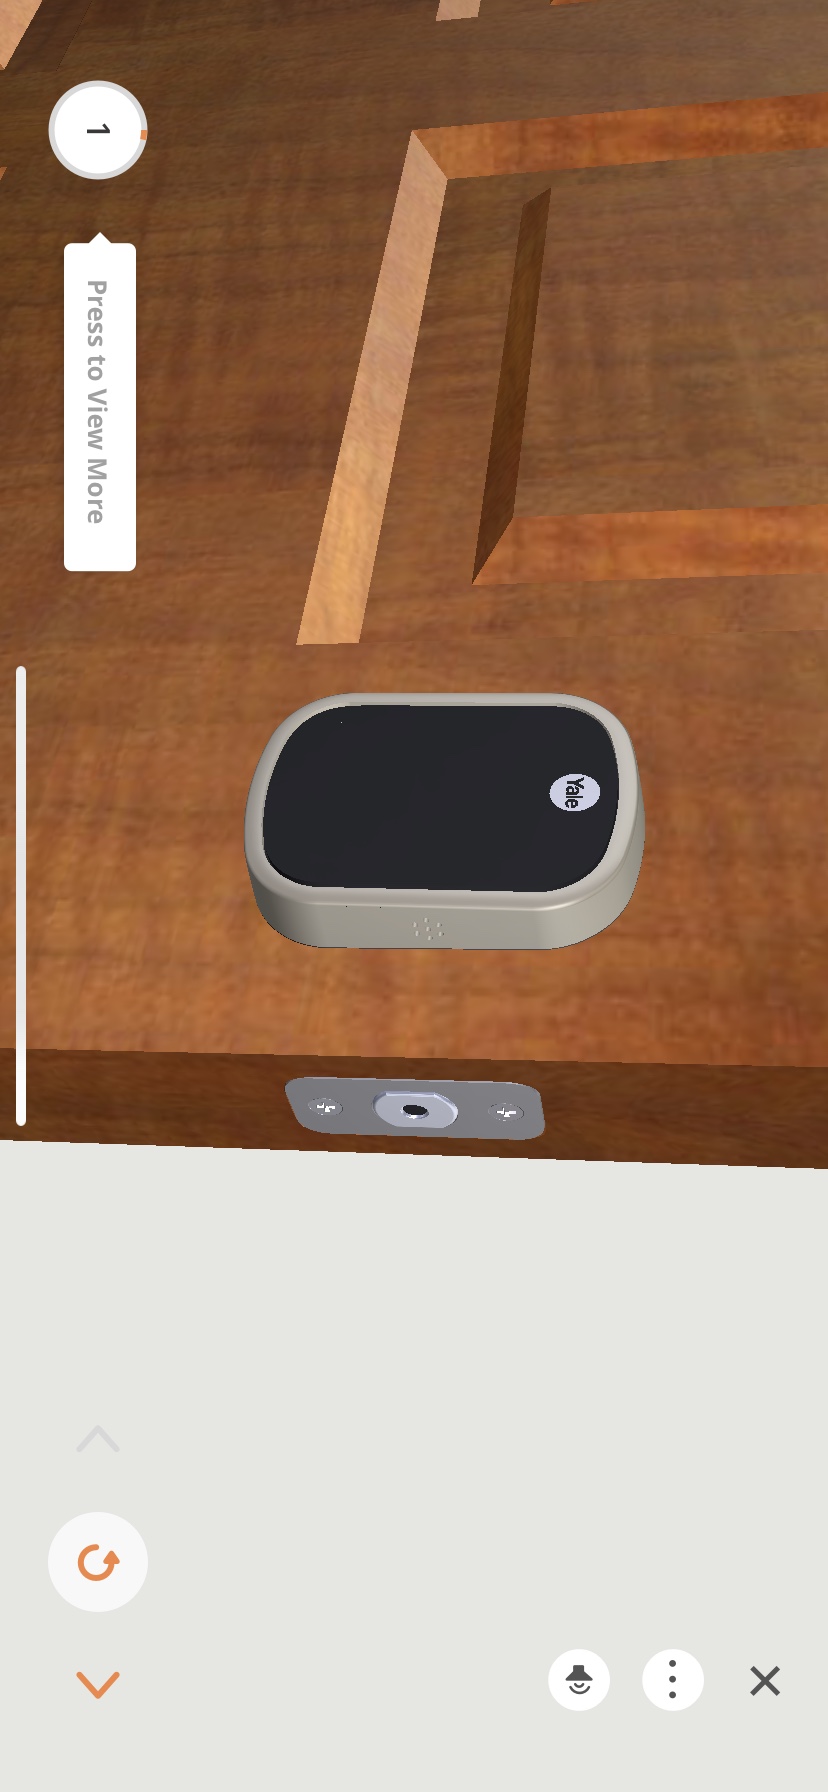
Follow the step by step instructions to install your lock.
STEP 10: Pair Bluetooth

Follow the prompts on the screen to add your phones for Touchless Disarming.
STEP 11: Add Users
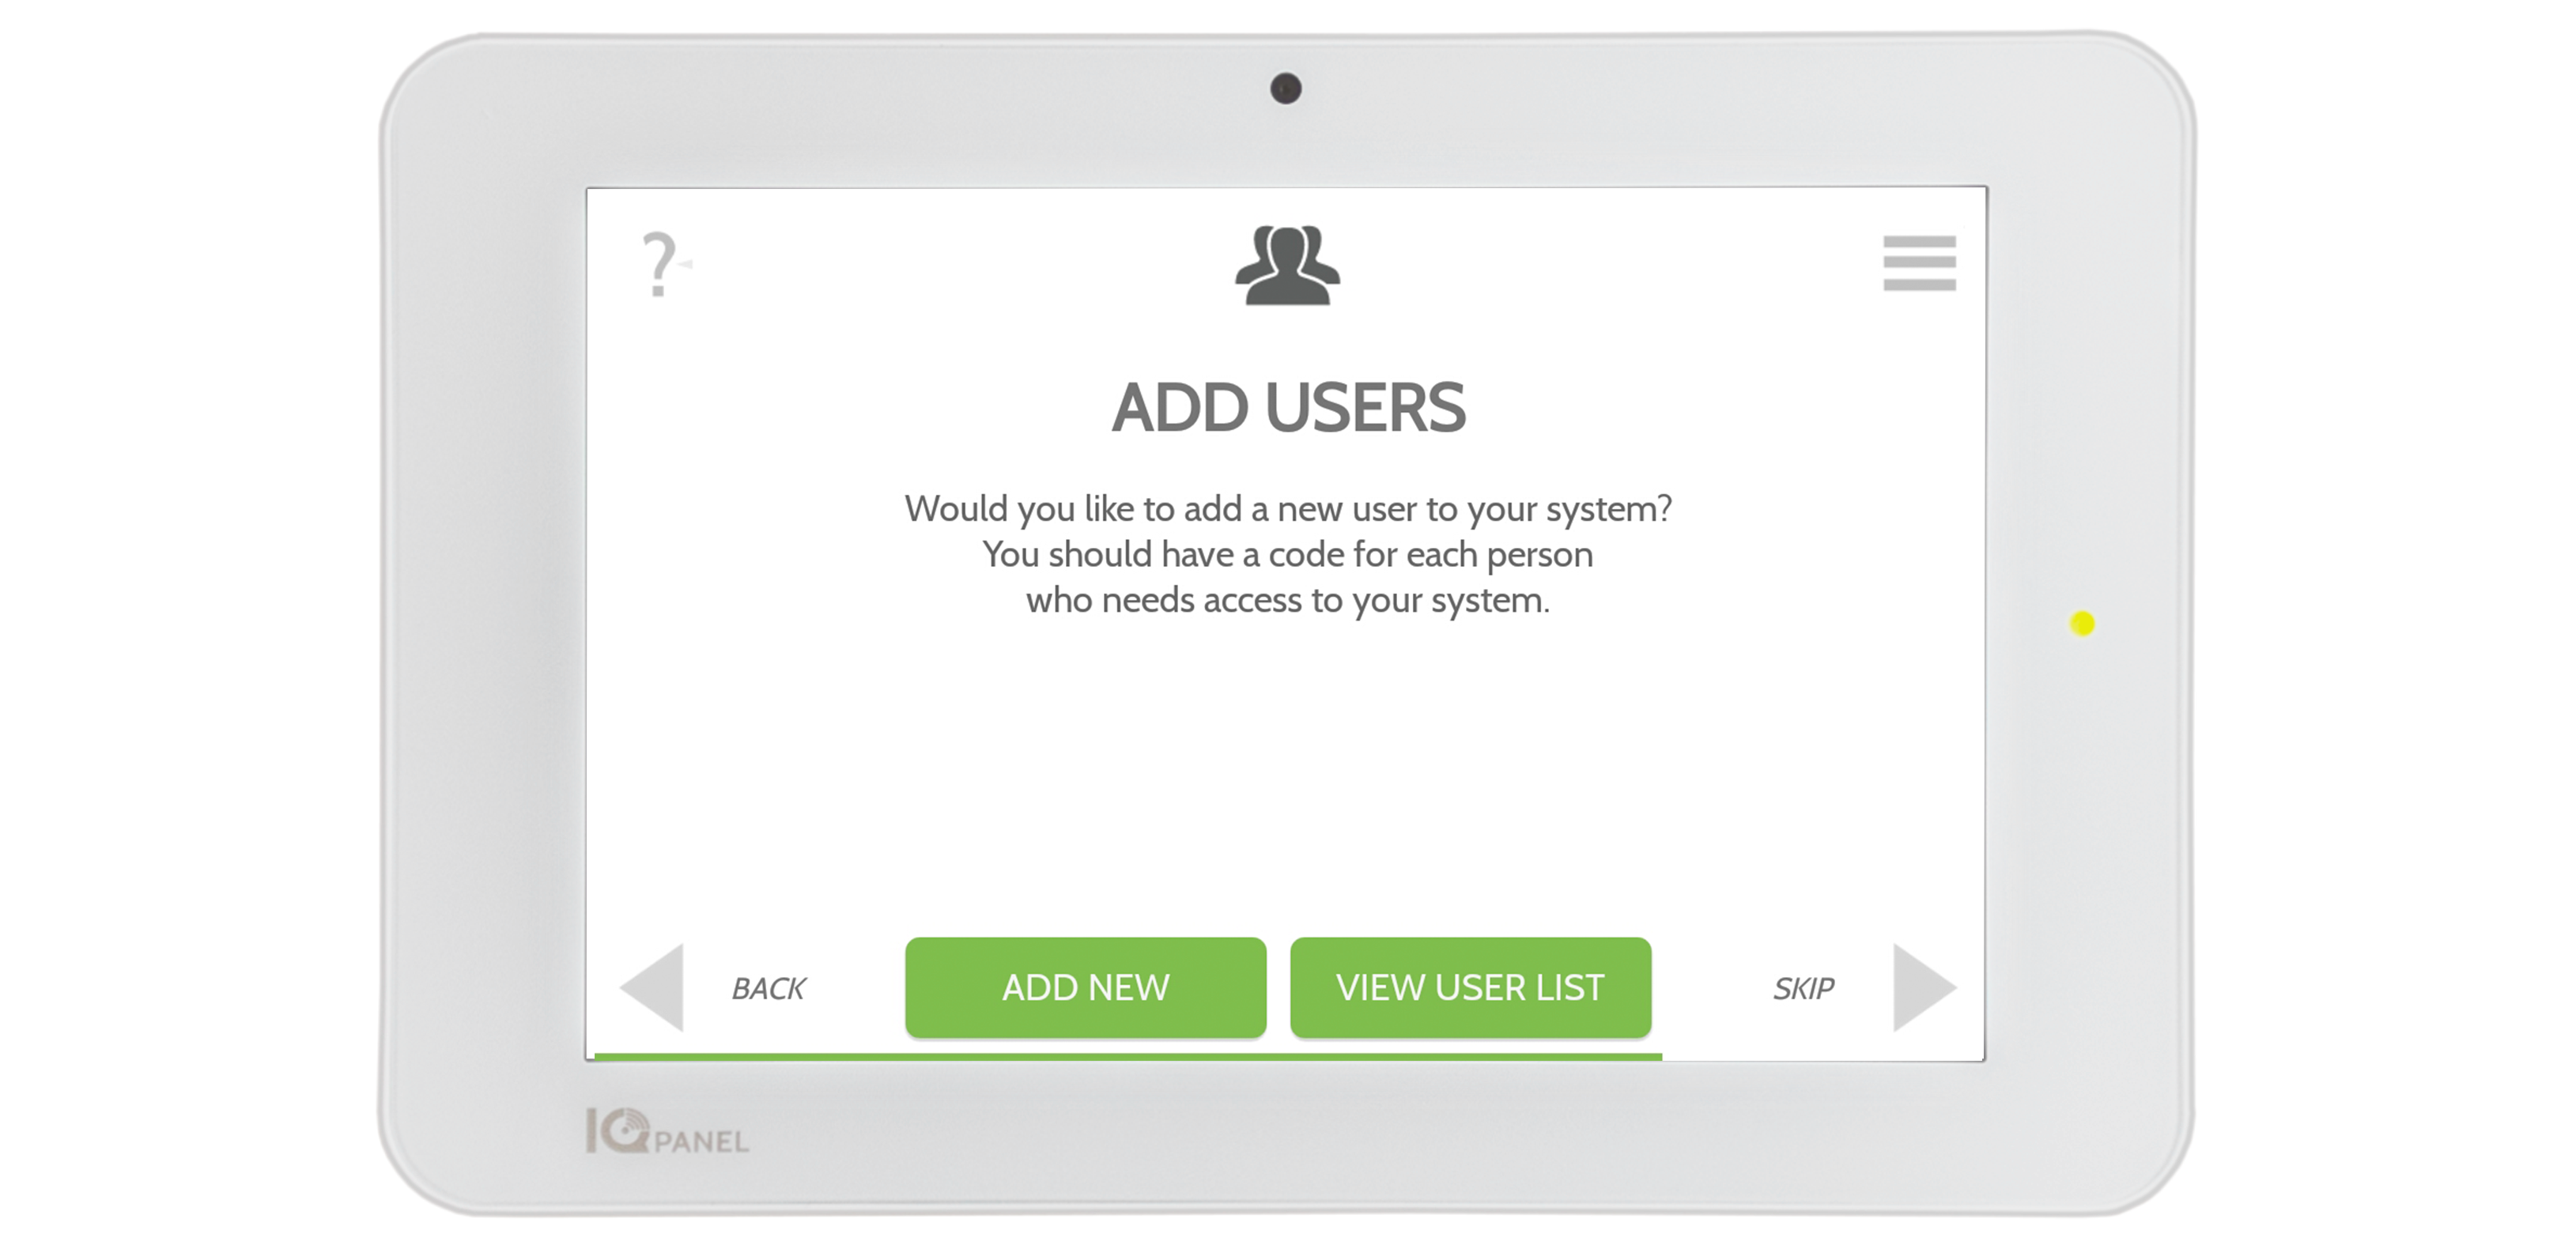
Follow the prompts on the screen to add users. The system supports up to 242 unique users.
Master: Can access settings.
User: Can arm/disarm.
Guest: Access with an expiration date.
STEP 12: Setup Your Alarm.com App
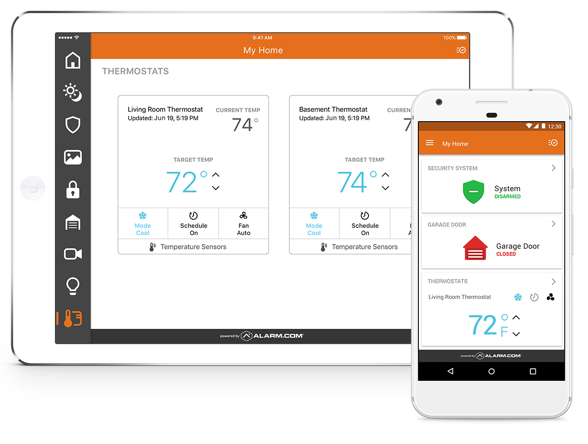
![]()
![]()